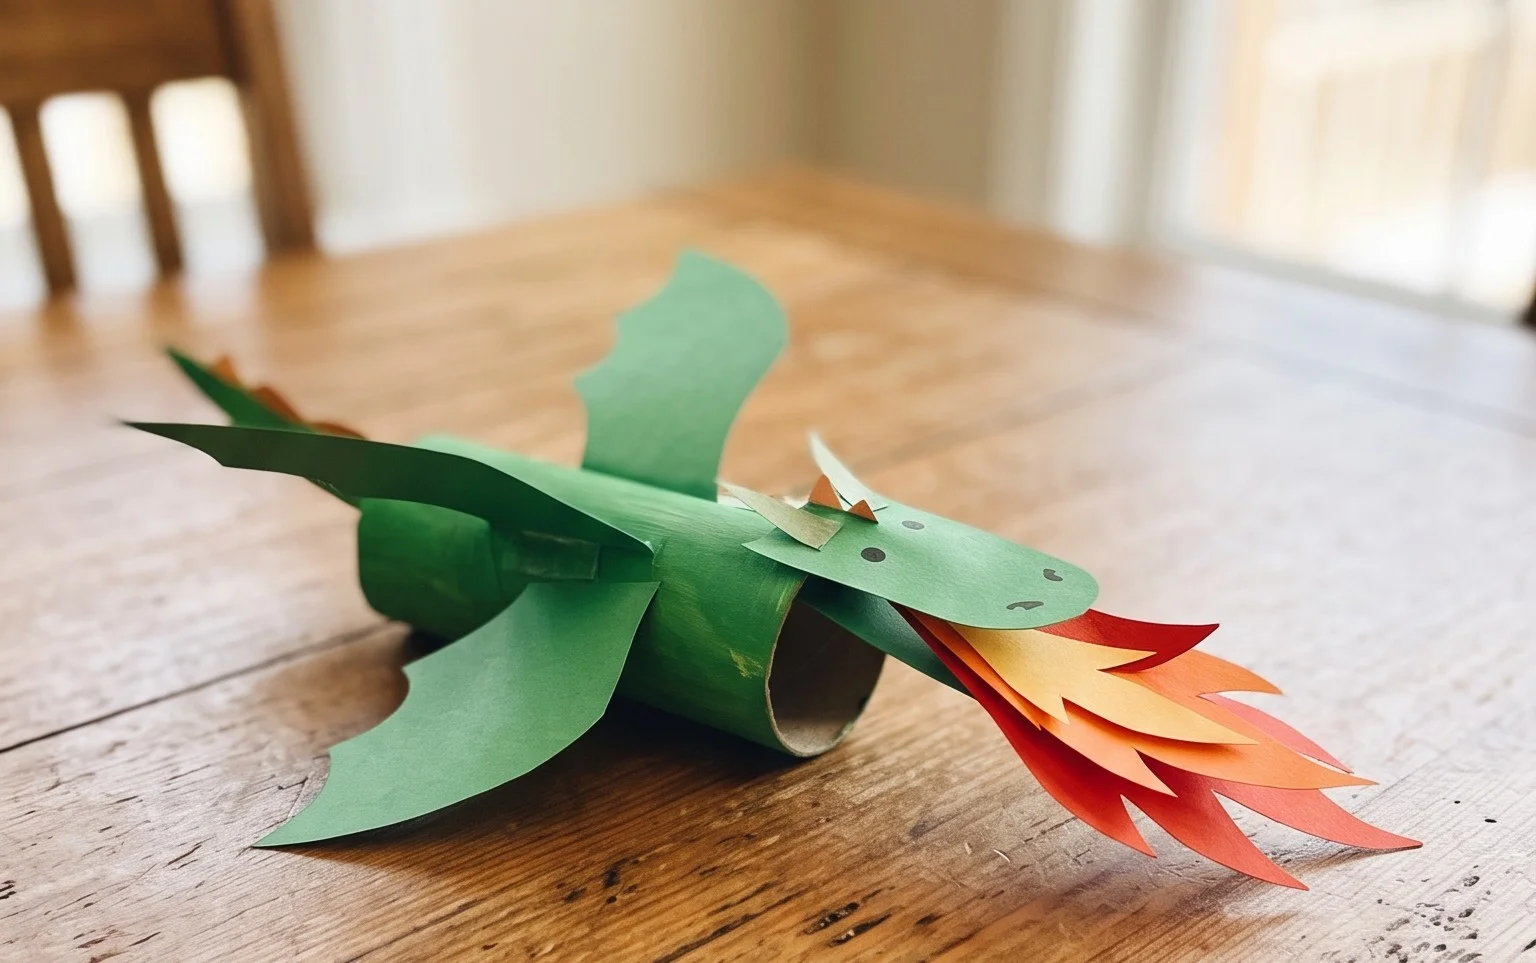
Easy 4th of July Paper Lantern Craft for Kids
Paper Lantern Kid’s Craft 4th of July Style is a fantastic way to get your little ones excited for the holiday! Imagine a beautiful, glowing lantern, adorned with patriotic colors and perhaps even some star cutouts, ready to light up your porch or patio. This craft is perfect for complete beginners and kids aged 6 and up, and it takes about 30-45 minutes to create. We’ll guide you step-by-step through folding and decorating, showing you how to transform simple paper into a festive showstopper. Get ready for some serious crafting fun as we make these adorable lanterns together for a star-spangled celebration!
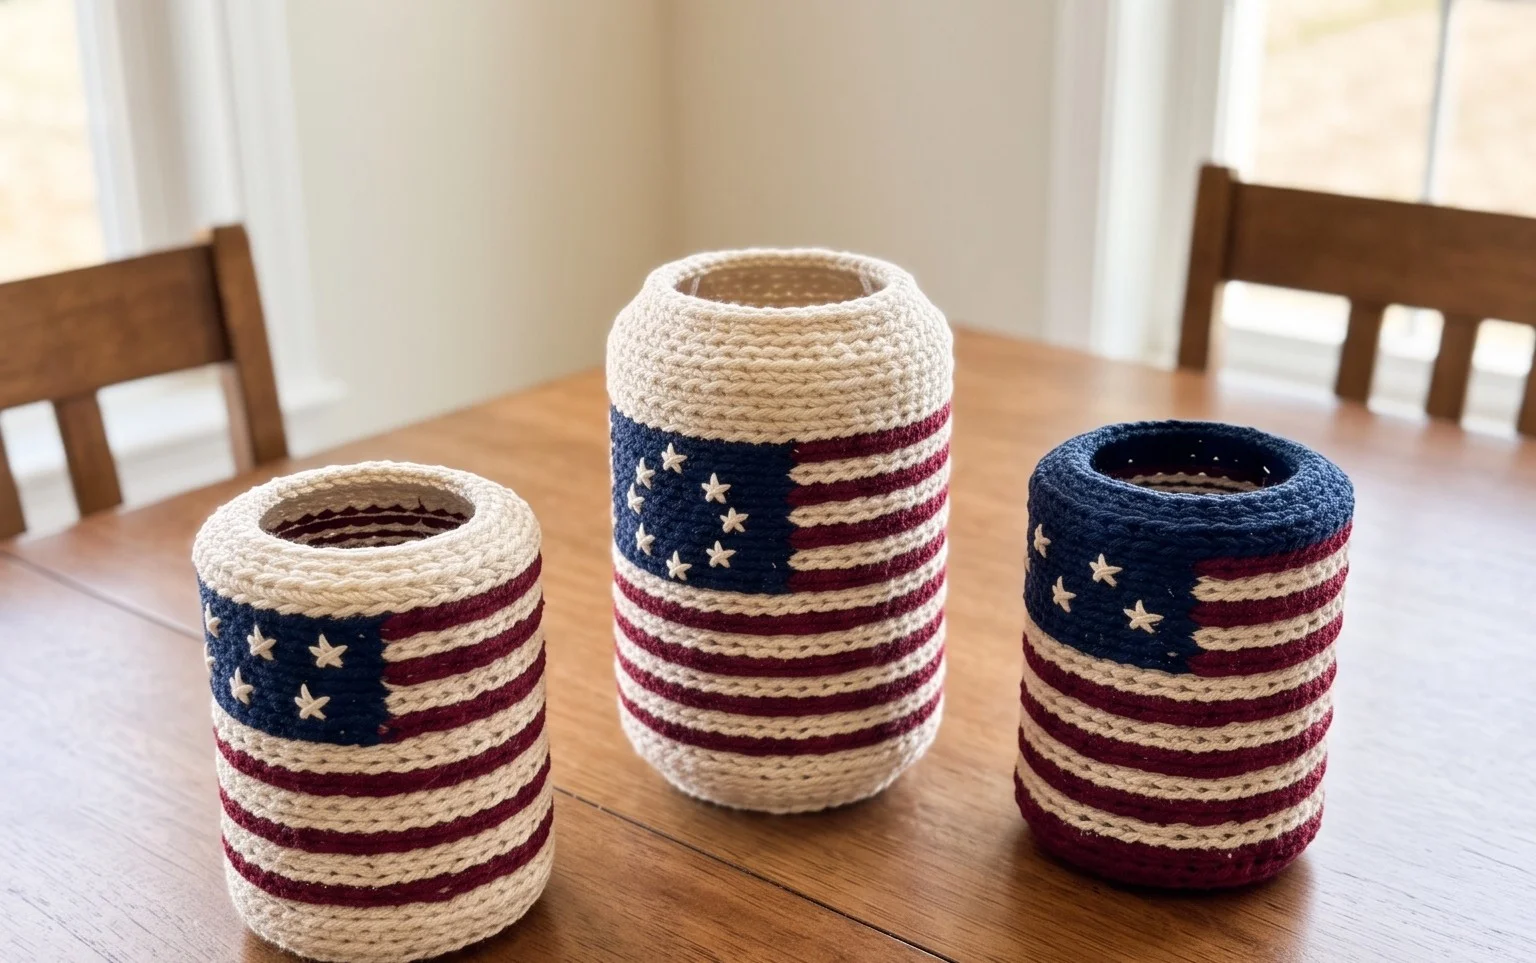
Let’s create a festive and fun 4th of July paper lantern! This is a fantastic craft for kids and adults alike, and the finished lanterns look beautiful hanging around the house or yard. We’re going to focus on making these with a patriotic flair, but the basic technique is versatile enough for any celebration.
Crafting Your Festive 4th of July Paper Lantern
This origami-inspired paper lantern is surprisingly simple to make, and the results are truly charming. We’ll walk through each step together, so don’t worry if you’re new to paper folding. The key is to be gentle and precise, and you’ll have a beautiful lantern in no time.
Choosing Your Paper: The Foundation of Your Lantern
The paper you choose will significantly impact the look and feel of your lantern. For this project, I like to use a good quality craft paper.
* Type of Paper: Standard printer paper can work in a pinch, but it can be a bit flimsy and might tear easily. Construction paper is a bit too thick and doesn’t fold as crisply. I highly recommend using a medium-weight craft paper, often called “cardstock” but not the super thick kind. It has a nice body to it, holds creases well, and isn’t so heavy that it’s difficult to fold. Look for paper that feels substantial but still flexible.
* Weight: Aim for a paper weight around 65-80 lb text weight. This is a good middle ground. If you can find it labeled as “cover stock” with a slightly lighter weight, that can also work wonderfully.
* Size: For our beginner-friendly lantern, a standard 8.5 x 11 inch sheet of paper is perfect. This size gives us a good starting point for folding. If you want a larger lantern, you can certainly use larger paper, but you’ll need to adjust your measurements accordingly. For now, let’s stick with the standard letter size.
* Single or Double-Sided: For a 4th of July theme, you have a few great options.
* Single-sided patriotic paper: This is ideal! You can get paper with stars, stripes, or even a solid red, white, or blue. The colored side will be the outside of your lantern, and the white side will be the inside.
* Solid colored paper: You can use solid red, white, and blue paper. This allows you to mix and match for a dynamic effect.
* Double-sided patriotic paper: This is also a lot of fun, as both sides will be visible, creating a richer look. Just be aware that if one side has a busy pattern and the other a subtle one, you might want to consider which side you want to be dominant.
The Base Folds: Getting Ready to Shape
Before we start making cuts, we need to prepare our paper with a few key folds. These folds will act as guides and help our lantern hold its shape.
* The Center Fold: Start with your paper in portrait orientation (the long sides are vertical). Take the bottom edge of the paper and bring it up to meet the top edge perfectly. You want the corners to align precisely. Run your finger or a bone folder firmly along the folded edge to create a sharp crease. Then, unfold the paper. You should now have a crisp horizontal crease running across the middle of your paper.
* The Side Folds: Now, turn your paper so it’s in landscape orientation (the long sides are horizontal). Take the left edge of the paper and bring it over to meet the right edge. Again, align the corners meticulously. Press down firmly to make a sharp crease along the folded edge. Unfold the paper. You should now have a crisp vertical crease running down the middle.
These two folds create a helpful cross in the center of your paper, dividing it into four equal quadrants.
Your Step-by-Step Folding Sequence
Let’s get folding! Remember to be patient with yourself, and if a fold isn’t perfect the first time, just gently unfold and try again.
1. Prepare Your Paper: Start with your chosen sheet of paper. If you are using single-sided patriotic paper, place it on your work surface with the colored/patterned side facing down (the white side facing up).
2. Fold in Half Horizontally: Bring the bottom edge of the paper up to meet the top edge. Align the corners precisely and press down firmly to create a horizontal crease. Unfold.
3. Fold in Half Vertically: Turn your paper so it’s in landscape orientation. Bring the left edge over to meet the right edge. Align the corners and press down firmly to create a vertical crease. Unfold. You should now have a cross-shaped crease in the center of your paper.
4. Fold into Quarters (Vertically): With your paper still in landscape orientation and the white side still facing up, bring the left edge to meet the vertical center crease you just made. Align the edges carefully and press down to create a new crease.
5. Repeat on the Other Side (Vertically): Now, take the right edge of your paper and bring it to meet the same vertical center crease. Align the edges and press down to create another crease. Your paper should now be folded in half vertically, and then each of those halves is folded in half again, so it looks like a narrow, elongated rectangle with multiple layers.
6. Unfold Everything: Carefully unfold all the folds you just made. You should see vertical creases dividing your paper into four equal sections.
7. Make the Slits: This is where the lantern shape starts to emerge. Lay your paper flat with the white side still facing up. You will be making cuts along the horizontal center crease. Imagine that horizontal crease as a guideline.
* Start at the left edge of the paper. Make a straight cut from the edge inwards, stopping *at* the vertical center crease. So, you’re cutting through the top layer of paper only.
* On the next section (moving towards the center), make another straight cut from the edge inwards, stopping *at* the next vertical crease. You are cutting through the top layer of paper only.
* Continue this pattern across the entire width of the paper. Make cuts from the edge inwards, stopping at each vertical crease. You will end up with four cuts on the top layer of your paper, each running from an edge to a vertical crease. Each cut should be the same length. For an 8.5×11 inch paper, a cut of about 3-4 inches is usually good.
8. Flip and Repeat the Slits: Carefully flip your paper over. The colored/patterned side should now be facing up. You are going to make the exact same slits on this side, mirroring the ones you just made. Again, start from the edge and cut inwards, stopping at each vertical crease. You will be cutting through all the layers of paper on this side.
9. Fold in Half (Horizontally Again): Now, pick up your paper. Fold it in half horizontally along the original center crease you made in step 2. The colored/patterned side should be on the outside. You should see all your cuts facing inwards.
10. Open the Lantern: Gently open up the two halves of your lantern. You will see that the cuts have created flaps. The paper should now stand up on its own, forming a cylindrical shape with these decorative slits.
Common Pitfalls and How to Avoid Them
It’s completely normal to encounter a few tricky spots when you’re learning a new fold. Here are some places beginners often stumble and how to navigate them smoothly.
* Uneven Folds: This is probably the most common issue. If your folds aren’t precise, your lantern might look lopsided.
* How to Avoid: Take your time with each fold. Really focus on aligning the edges and corners *before* you press down to crease. Use the tip of your finger or a bone folder to make sharp, deliberate creases. Don’t rush this part!
* Cutting Too Far or Not Far Enough: When making the slits, it’s easy to misjudge the length.
* How to Avoid: Before you start cutting, lightly mark where your cuts should end with a pencil. For an 8.5×11 inch paper, aim for cuts that are roughly 1/3 to 1/2 the length of the paper’s width (when it’s in landscape orientation). Make sure each cut ends *exactly* at a vertical crease. It’s better to cut slightly too short than too long, as a cut that goes past the crease will weaken the structure of your lantern.
* Tearing the Paper: Especially if you’re using thinner paper or creasing too forcefully, you might get small tears.
* How to Avoid: Be gentle! You want to make a *crease*, not rip the paper. Use a light but firm pressure when folding. If you feel resistance or hear a tearing sound, ease up. If a small tear does happen, don’t despair! Sometimes a tiny tear can be strategically hidden, or you can even cover it with a dab of glue if it’s in an inconspicuous spot.
Getting Creative: Variations on the Theme
Once you’ve mastered the basic lantern, you can have so much fun with variations!
* Size Matters: As I mentioned, you can use larger or smaller paper. Just remember that the proportion of your cuts will need to adjust. If you’re using legal-sized paper (8.5×14 inches), your cuts can be a bit longer. If you’re using smaller square paper, you’ll need to shorten your cuts significantly.
* Paper Patterns and Colors: This is where the 4th of July theme really shines!
* Stripes and Stars: Mix and match solid red, white, and blue papers. You can even use patterned papers that feature fireworks or other patriotic motifs.
* Layering: For an extra special touch, try cutting a slightly larger piece of contrasting colored paper and gluing it to the inside of your lantern after it’s assembled. This adds depth and makes the inside look just as beautiful as the outside.
* Metallic Accents: Some craft stores sell metallic or glitter paper. A few of these sprinkled into your lantern collection can add a lot of sparkle!
* Adding Embellishments: Once your lantern is complete, you can add even more decorations.
* Glitter Glue: Outline some of the cut sections with glitter glue in red, white, or blue.
* Stickers: Small star stickers can be placed strategically on the outside of the lantern.
* Ribbon: Tie a ribbon around the top or bottom for an extra decorative flourish.
Displaying and Gifting Your Beautiful Lanterns
The finished lanterns are incredibly versatile for decoration and gifting.
* Hanging Decorations:
* String them together: Use a needle and sturdy thread (or fishing line) to string several lanterns together for a festive garland. Hang them across your porch, from tree branches, or along your fence.
* Single hangings: Attach a loop of ribbon or string to the top of each lantern and hang them from shepherd’s hooks in your yard, from the ceiling fan (make sure it’s not on!), or from curtain rods.
* Table Centerpieces:
* Cluster them: Arrange a few lanterns of different sizes and colors together on a table for a striking centerpiece. You can place them on a runner or placemat.
* Add a base: Place a small candle holder (battery-operated LED candles are safest for paper crafts!) inside the lantern to create a soft, ambient glow.
* Gifting:
* Sweet treats: Place a small bag of candy or a few wrapped cookies inside the lantern before gifting.
* Small toys: If it’s for a child, a small surprise toy can be tucked inside.
* Handwritten notes: Write a special message on a small piece of paper and place it inside for a personal touch.
* Packaged presentation: Wrap the lantern gently in cellophane and tie with a festive ribbon for a beautiful present.
Making these 4th of July paper lanterns is a wonderful way to get into the holiday spirit. Enjoy the process, and have fun with your creations!
Conclusion
Well done, crafters! You’ve just learned how to make a festive 4th of July paper lantern. Don’t worry if your first attempt isn’t perfect – every fold is a learning experience, and practice makes progress! We hope you had a blast creating these. Share your beautiful paper lanterns with friends and family; they make wonderful decorations. For your next project, why not try a patriotic star or a simple folded flag? The possibilities with paper are endless! We invite you to explore more of our fun paper projects and continue your crafting adventure with us.