Easy Origami Koi Fish: Step-by-Step Paper Craft
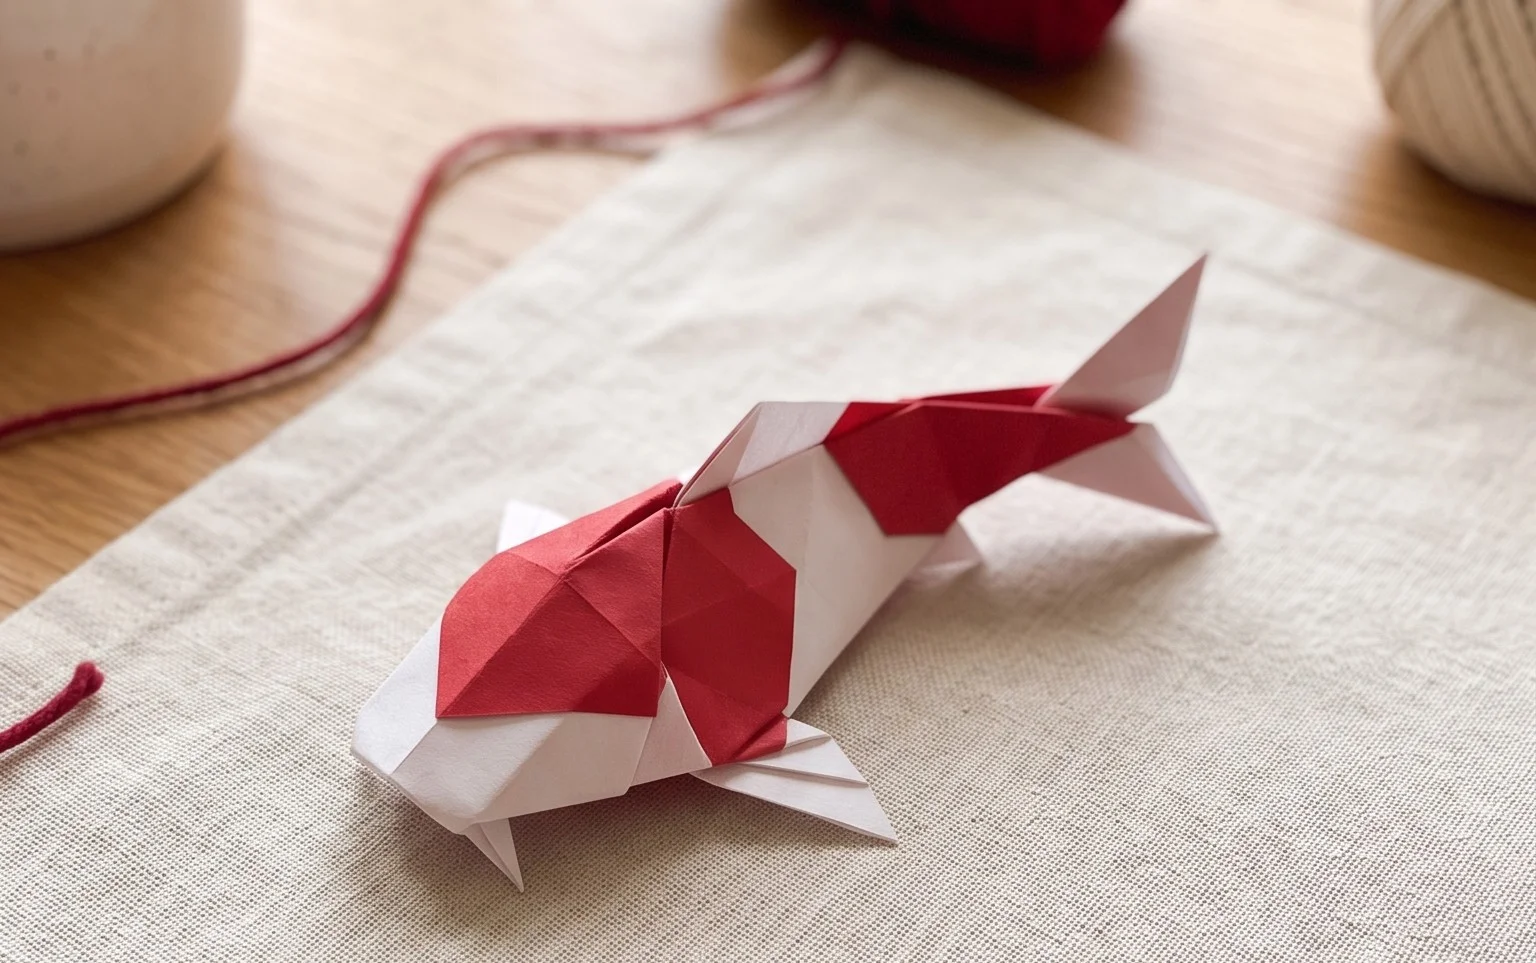
Origami Koi Fish are such a beautiful and symbolic craft, and today we’re going to fold one together! Imagine a graceful fish, its body rippling with elegance, fins gently fanned out, ready to swim through imaginary waters. This tutorial is perfect for complete beginners and kids aged 8 and up, and you can expect to finish your little koi in about 15-20 minutes. It makes a delightful decoration or a thoughtful handmade gift. We’ll guide you through each simple fold, transforming a single square of paper into this stunning creature. Get your paper ready – let’s dive in and create something wonderful!
Origami Koi Fish: Step-by-Step Instructions
Hello there, origami enthusiast! I’m so excited to guide you through creating your very own beautiful origami Koi fish. Koi fish are symbols of luck, prosperity, and perseverance, making them a wonderful subject for origami. This guide is designed for beginners, so don’t worry if you’re new to the craft. We’ll go through each step slowly and clearly, ensuring you can follow along without needing any diagrams.
Choosing Your Paper
The right paper can make a world of difference in your origami creations. For this Koi fish, I highly recommend using standard origami paper.
- Type: Origami paper is ideal because it’s specifically designed for folding – it’s strong, holds creases well, and is usually square.
- Weight: A typical origami paper weight of around 70-80 gsm (grams per square meter) is perfect. It’s thin enough for neat folds but sturdy enough to maintain its shape.
- Size: For your first Koi, I suggest starting with a square piece of paper that’s at least 6 inches (15 cm) by 6 inches (15 cm). This size gives you enough room to work with each fold. As you get more comfortable, you can experiment with smaller or larger sizes.
- Single or Double Sided: For a classic Koi look, you can use single-sided paper where one side is coloured (usually orange or red for a traditional Koi) and the other is white. This will create a beautiful contrast, with the white appearing on the underside of the fins or tail. If you have double-sided paper in two complementary colours, that can also look fantastic, giving your fish a vibrant, multi-toned appearance. For a more understated look, paper that is the same colour on both sides is also perfectly fine.
The Base Folds: Building Our Foundation
Before we dive into the Koi itself, we need to master a few fundamental folds that are common in many origami models. Making these folds precisely will make the rest of the process much smoother.
Valley Fold: Imagine you’re folding a piece of paper in half, bringing one edge to meet another edge, creating a “valley” in the middle. The crease will be on the side facing you.
Mountain Fold: This is the opposite of a valley fold. Imagine folding the paper so that the crease pops *away* from you, forming a “mountain” shape. You’ll often make a valley fold first and then unfold, or sometimes you’ll make a crease and then fold the paper *backwards* along that crease.
Squash Fold: This is a bit more advanced but crucial for the Koi’s shape. You’ll typically start with a flap of paper. Open the flap, then flatten it down by bringing the two sides of the flap towards the centre, squashing it flat into a diamond or kite shape.
Petal Fold: This is a combination of valley and mountain folds. You’ll usually make a few creases, then lift a flap and fold it upwards, using the pre-made creases to form two new triangular flaps on the sides.
Step-by-Step Koi Fish Folding Sequence
Let’s begin! Lay your square piece of paper in front of you, coloured side up (if using single-sided paper). Ensure the corners are pointing towards you, the top, the right, and the left.
- Diagonal Fold: Take the bottom-left corner and bring it precisely to meet the top-right corner. Crease firmly along the diagonal line. Now, unfold the paper.
- Second Diagonal Fold: Take the bottom-right corner and bring it precisely to meet the top-left corner. Crease firmly along this diagonal line. Now, unfold the paper. You should have two diagonal creases forming an “X” on your paper.
- Flip the Paper: Turn your paper over so the white side is facing you.
- Horizontal Fold: Take the bottom edge and bring it up to meet the top edge. Crease firmly along the horizontal line. Now, unfold the paper.
- Vertical Fold: Take the left edge and bring it over to meet the right edge. Crease firmly along the vertical line. Now, unfold the paper. You should now have four creases: two diagonal ones and two perpendicular ones forming a grid.
- Form the Waterbomb Base: This is where we bring the paper together. Hold the paper with the white side facing you. Gently push the left and right sides inwards along the vertical crease. As you do this, the top and bottom edges will naturally come together. Collapse the paper by bringing the top point down to meet the bottom point, flattening the model into a smaller square. This is your Waterbomb Base. You’ll have four flaps meeting at the top point.
- Orient the Base: Place the Waterbomb Base in front of you with the open flaps pointing towards you. The single point is at the top.
- Fold the Front Flaps (Left and Right): Take the right edge of the *top* layer’s front flap and bring it to meet the central vertical crease. Crease firmly. Repeat with the left edge of the *top* layer’s front flap, bringing it to meet the central vertical crease. You should now have a kite shape on the front layer.
- Fold the Top Point Down: Take the small triangular point at the very top of this kite shape and fold it down over the flaps you just created. Crease it well. This crease will help define the head of your fish.
- Unfold the Front Flaps: Now, unfold the two side flaps you just folded in steps 8 and 9. You’ll see the creases you made.
- Perform a Petal Fold (Front Layer): This is a key step. Lift the bottom point of the front layer (where all the flaps meet). As you lift it, use the creases you made in step 8. Open up the front layer and fold it upwards, flattening the sides inwards along those creases. You’re essentially turning that kite shape into a long, pointed diamond. This is a petal fold. The result should be a long, thin diamond shape on the front layer.
- Flip and Repeat: Turn the entire model over. Repeat steps 8 through 11 on this new front side. You’ll fold the right and left edges to the centre, crease the top point down, unfold these flaps, and then perform a petal fold. You should now have a symmetrical pointed shape on both sides. This forms the body and tail of our fish.
- Prepare for the Fins: Orient the model so the two long points (which will become the tail) are at the top. The single point at the bottom will be the head.
- Fold the Tail Point Upwards: Take the single point at the bottom (the head) and fold it upwards to meet the point where the two tail sections split apart at the top. Crease firmly.
- Fold the Head Downwards: Now, take that point you just folded up and fold it back down, so the tip of the head meets the bottom edge of the model. Crease firmly. This creates a small flap for the head.
- Form the Head and Mouth: Open up the fold you just made for the head. You’ll see the crease. Now, gently pull the tip of that head flap outwards. As you do this, “squash” it down by pressing the sides inwards along the existing creases. This will create a small triangular head shape.
- Fold the Tail in Half (Vertically): Look at the two long points at the top. Fold the entire model in half vertically, bringing the left side over to meet the right side. Crease firmly all the way along the body.
- Create the Tail Fin: Now, look at the tail section. Take the top point of the tail and fold it downwards at an angle, so it forms a fin shape. The angle here is up to you and will determine the look of your fish’s tail. Crease firmly.
- Fold the Other Tail Fin: Flip the model over. You’ll see the other side of the tail. Repeat step 18, folding this tail point downwards at the same angle to create the second tail fin. Ensure they are symmetrical.
- Fold the Body in Half (Horizontally): Take the entire model and fold it in half horizontally, bringing the bottom edge up to meet the top edge. Crease firmly. This will give your Koi a more rounded, dimensional body.
- Shape the Fins (Optional): You can make small folds on the edges of the tail fins to give them a more delicate or textured look, if you wish.
Common Beginner Pitfalls and How to Avoid Them
Don’t get discouraged if your first attempt isn’t perfect! Most beginners run into a few common issues:
- Imprecise Creases: The number one reason origami models don’t look quite right is weak or inaccurate creases. Always use your fingernail or a bone folder to make your creases sharp and precise. Align edges and corners as perfectly as possible before creasing.
- Misinterpreting the Waterbomb Base: Step 6, forming the Waterbomb Base, can be tricky. Remember to push *inwards* on the sides and let the top and bottom come together. If you’re struggling, practice this step with scrap paper a few times until it feels natural.
- Confusing Layers: When folding the petal folds (steps 11 and 12), it’s easy to accidentally fold multiple layers when you only intend to fold one. Always make sure you are only working with the *top* layer of paper unless the instructions specifically state otherwise. Gently separate the layers if needed.
Varying Your Koi Fish
The beauty of origami is its versatility! Once you’ve mastered the basic Koi, you can:
- Vary the Size: Simply use larger or smaller squares of paper. Larger paper is easier for beginners, while smaller paper allows you to make a school of tiny Koi.
- Experiment with Paper Patterns: Use patterned origami paper! Papers with subtle textures, gradients, or even traditional Japanese patterns can create stunningly unique Koi. For a very traditional look, use paper with a gradient that goes from red or orange to white.
- Play with Colour: Don’t be afraid to use colours beyond the traditional orange and white. Blues, greens, and even black can make for very striking and artistic Koi. Try using two different coloured papers joined together before starting, or use paper that is a different colour on each side.
Displaying and Gifting Your Origami Koi
Your finished Koi fish is a work of art! Here are some ideas:
- Mobile: String several Koi together to create a beautiful, flowing mobile that will catch the light.
- Garland: Connect them with string or thread to make a vibrant garland for a celebration or to decorate a room.
- Tabletop Display: Arrange a few Koi on a shelf, desk, or mantelpiece for a splash of colour and good fortune.
- Gifts: Folded Koi make wonderful, thoughtful gifts. Tuck one into a birthday card, attach it to a present, or even gift a whole school of them in a small box.
- Cushion the Blow (Figuratively!): If you’re gifting a fragile item, you could even use a carefully folded origami Koi to cushion it within its packaging.
I hope you’ve enjoyed folding your origami Koi fish! Remember, practice makes perfect. The more you fold, the more confident and skilled you’ll become. Happy folding!
Conclusion
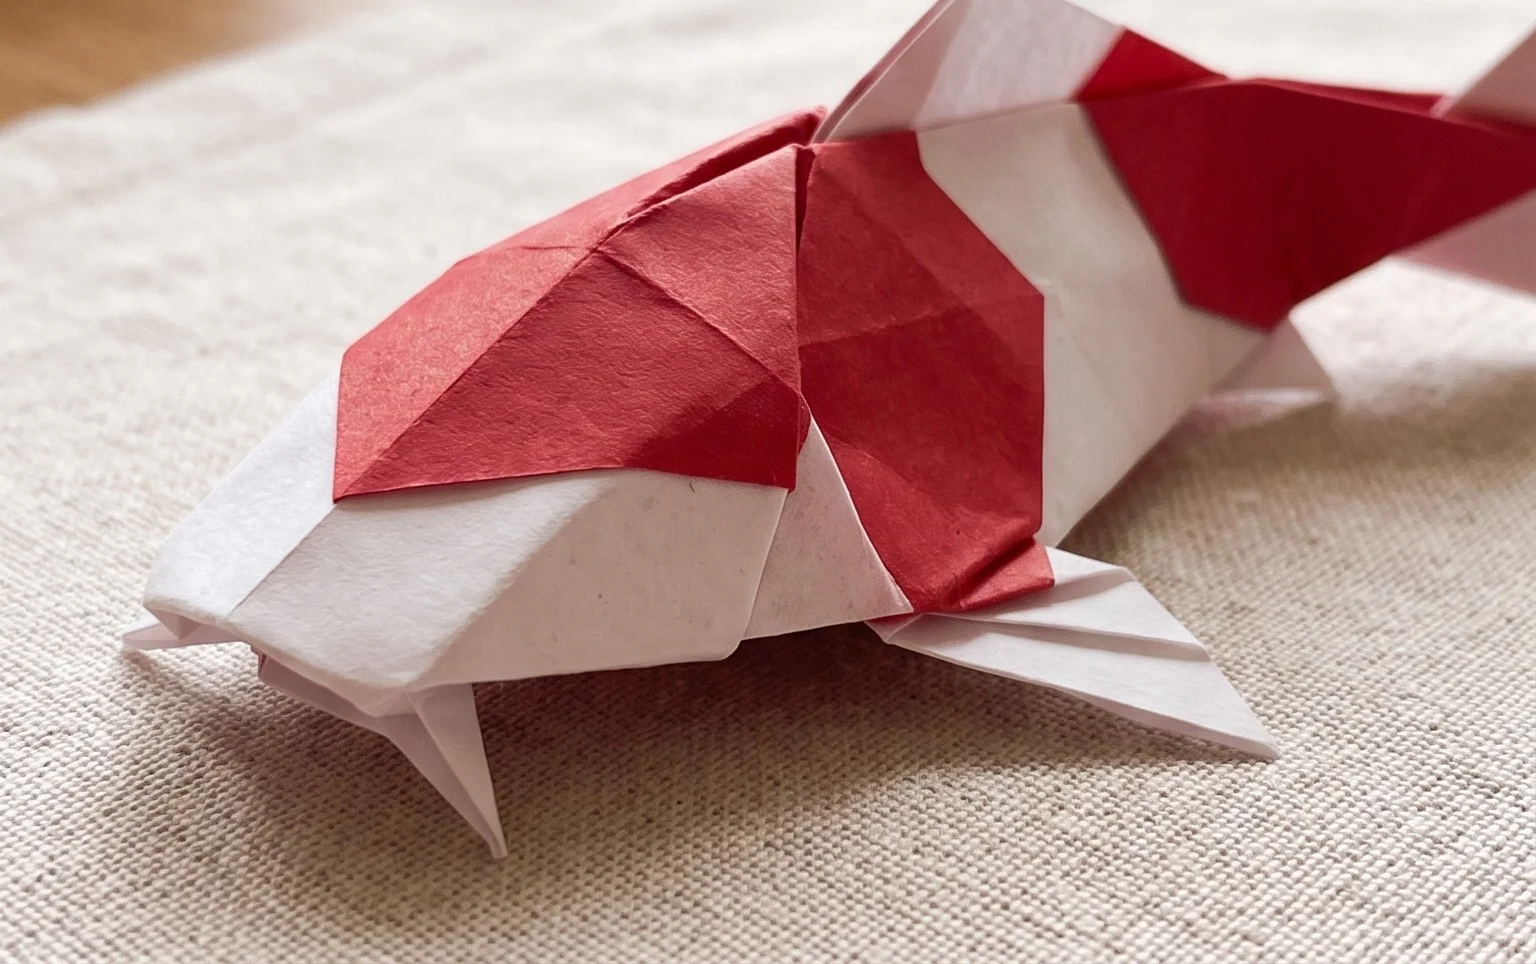
Congratulations on folding your very own origami Koi fish! Don’t worry if your first attempt isn’t perfect; every fold is a step in learning, and practice makes the perfect origami. We encourage you to keep practicing and to share your beautiful creations with friends and family. For your next adventure, why not try folding a more complex origami Koi fish with added scales, or perhaps a different aquatic creature like a graceful crane? There’s a whole world of paper art waiting to be explored! We hope you enjoyed this tutorial and will join us again soon for more exciting paper folding projects.
