Easy Crepe Paper Wisteria: Step-by-Step Craft
How to Make Crepe Paper Wisteria is a wonderfully rewarding project! Imagine delicate, cascading clusters of vibrant purple blossoms, each petal soft and textured, just like the real thing. They’ll bring a touch of spring indoors, perfect for decorating your home, a special event, or even as a thoughtful handmade gift. This tutorial is designed for crafters of all levels, from complete beginners to experienced paper artists, and even older kids looking for a fun, hands-on activity. You can expect to create a beautiful bunch in about an hour or two, depending on your pace. Together, we’ll learn how to transform simple crepe paper into these enchanting wisteria blooms, mastering techniques for shaping petals and assembling stunning floral displays. Let’s get folding and create something beautiful!
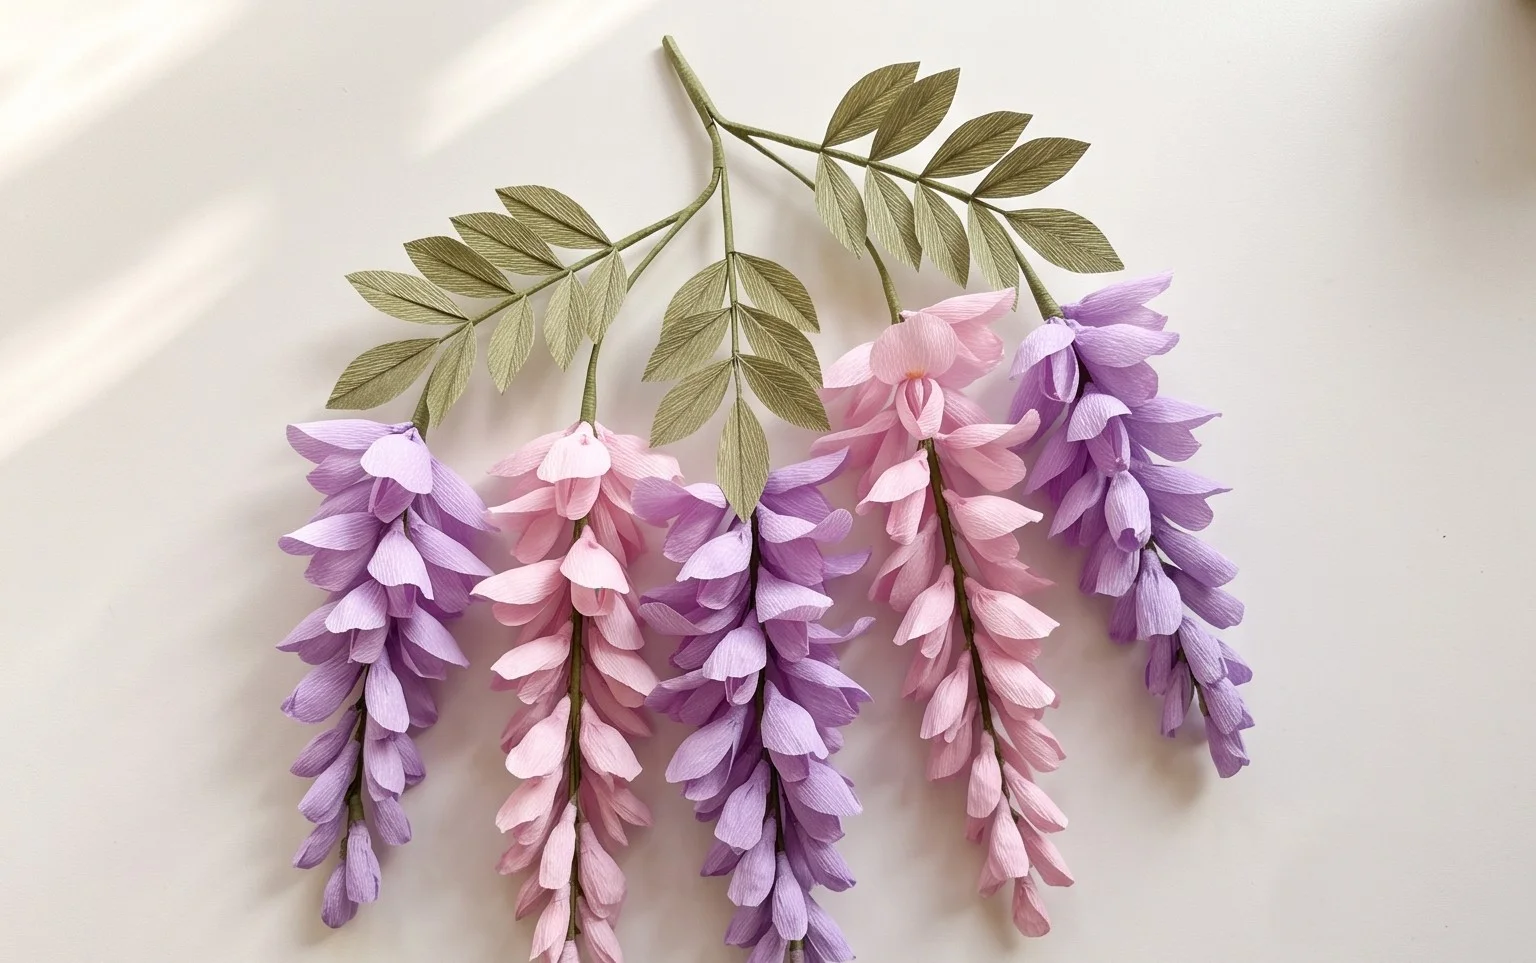
Making Beautiful Crepe Paper Wisteria
Hello, fellow crafters! Today, we’re going to dive into the delightful world of crepe paper flowers and learn how to create stunning wisteria. Wisteria, with its cascading bunches of delicate blossoms, is a truly magical flower, and capturing its essence in crepe paper is incredibly rewarding. This tutorial is designed for beginners, so don’t worry if you’re new to origami or paper crafting. We’ll take it step-by-step, and I’ll explain every fold as clearly as possible. By the end, you’ll have a beautiful piece of art that will bring a touch of spring into your home.
Choosing Your Paper: The Foundation of Your Wisteria
The paper you choose is crucial for the success of your crepe paper wisteria. For this project, we’ll be using crepe paper. Now, there are many types of crepe paper, but for wisteria, I highly recommend a good quality floral crepe paper.
- Type: Look for a paper specifically labelled “floral crepe paper” or “craft crepe paper.” This type is usually a bit thicker and has a good stretch, which is essential for shaping our petals.
- Weight: The weight isn’t usually specified on the roll, but you’ll know it by the feel. It should feel substantial enough to hold a crease but still pliable. If it feels very thin and flimsy, it might tear too easily.
- Size: Crepe paper typically comes in rolls. The width of the roll will determine the size of your individual wisteria florets. For a standard size wisteria, a roll that is about 2 inches (5 cm) wide is a good starting point. You can always cut it down if needed.
- Single or Double-Sided: For wisteria, single-sided crepe paper is perfectly fine. The colour is usually on one side, and the other is a more neutral tone. We’ll be folding it in such a way that the coloured side will be prominent. If you happen to have double-sided coloured crepe paper, that would also work beautifully!
It’s worth investing in a few different colours to experiment with. Pastels like soft purples, lilacs, blues, and even whites are classic for wisteria.
The Base Fold: Building Blocks of Beauty
Before we get to the intricate folding of the wisteria florets, we need to understand a fundamental fold that will form the basis of our flower. This is a simple yet important fold that requires precision. We’ll be using a square piece of paper.
Let’s call our square piece of paper “Piece A.” Ensure you have a nice, sharp crease for this.
1. Place Piece A on a flat surface with one of the coloured sides facing up. Imagine the square has four corners: top-left, top-right, bottom-left, and bottom-right.
2. Take the bottom-right corner and bring it up to meet the top-left corner. Press down firmly along the diagonal line created to make a sharp crease. You should now have a triangle with the longest side at the bottom.
3. Now, take the bottom-left corner of this triangle and bring it up to meet the top-right corner. Again, press down firmly to create another sharp crease along this new diagonal line. You should now have a smaller square.
4. With this smaller square, ensure the folded edges are facing you. Take the bottom-right corner and bring it up to meet the top-left corner. Crease firmly. This will result in a triangle.
5. Finally, take the bottom-left corner of this triangle and bring it up to meet the top-right corner. Crease very firmly. You should now have a smaller triangle.
This series of folds essentially creates a cone shape, which is what we’ll be transforming into our wisteria florets. The key here is to make each crease as sharp and precise as possible. This will ensure your final flower has a clean and professional look.
The Wisteria Fold Sequence: Step-by-Step
Now that we’ve mastered our base fold, let’s transform that simple triangle into a blooming wisteria floret. We’ll work with the small triangle we created in the previous step.
1. Orient your small triangle so that the longest, folded edge is at the bottom, and the open edges are at the top. The tip pointing upwards is the apex of our triangle.
2. Identify the rightmost point of the triangle (the bottom-right corner). Imagine a line running from the apex (top point) down through the centre of the triangle. We’re going to take this rightmost point and fold it inwards so that it aligns with this imaginary centre line. The fold line will run from the apex down towards the middle of the bottom edge. Crease firmly.
3. Now, look at the leftmost point of the triangle (the bottom-left corner). Do the exact same thing as in step 2: fold this leftmost point inwards to meet the imaginary centre line. Again, crease firmly. You should now have a shape that looks like a kite or a diamond, with a point at the top and a flatter edge at the bottom where the two points met.
4. Turn the paper over. You should see the smooth, folded side.
5. Take the right edge of this kite shape and fold it inwards so that it aligns with the centre vertical crease you created in step 2 and 3. Crease firmly.
6. Repeat step 5 with the left edge: take the left edge and fold it inwards to align with the centre vertical crease. Crease firmly. You should now have a long, thin diamond shape with a very sharp point at the top.
7. Now for the magic! Take the very tip of the pointed end of this diamond shape (the top point). Gently pinch and pull it apart. As you do this, the paper will naturally want to open up and form a small, bell-shaped or teardrop-shaped floret. This is where the stretch of the crepe paper comes in handy. You want to gently pull until you have a nice, rounded shape. Don’t pull too hard, or it might tear.
8. Once you have your desired shape, you can gently mould the edges to make them look more natural and petal-like. You can use a toothpick or a bone folder to gently curl the edges outwards, or simply use your fingertips.
Congratulations! You’ve just made your first crepe paper wisteria floret. You’ll want to make many of these to create a full bunch.
Common Pitfalls and How to Avoid Them
Even with clear instructions, beginners sometimes encounter a few tricky spots. Let’s address them so you can have a smooth crafting experience.
- Tearing the Paper: This is probably the most common issue. Crepe paper, especially if it’s thin, can tear easily, particularly when you’re pulling it open in the final step to form the floret.
- How to Avoid: Be gentle! Don’t yank or pull aggressively. Pinch the tip lightly and use a slow, controlled pulling motion. If you feel significant resistance, stop and try a slightly different angle or a gentler tug. Using slightly thicker floral crepe paper will also help prevent tears.
- Fuzzy or Messy Creases: If your creases aren’t sharp, your final floret might look a bit sloppy. This happens when the paper isn’t pressed down firmly enough during the folding stages.
- How to Avoid: After making each fold, use your fingernail, a bone folder, or even the edge of a ruler to firmly press down along the crease line. Work from the centre outwards. This ensures clean, crisp lines that define the shape of your floret.
- Uneven Florets: Sometimes, florets can end up looking lopsided or not quite symmetrical. This usually stems from not aligning the edges and corners perfectly in the earlier folding stages.
- How to Avoid: Pay close attention to step 2 and 3 of the “Wisteria Fold Sequence,” where you fold the points to the centre line. Ensure they meet precisely in the middle. Also, when folding the edges inwards in steps 5 and 6, make sure they align perfectly with the centre crease. Precision in these early steps will lead to more uniform florets.
Don’t be discouraged if your first few attempts aren’t perfect. Every crafter has been there! The more you practice, the more intuitive it will become.
Varying Your Wisteria: A Touch of Personalisation
One of the joys of crafting is the ability to make each piece unique. Here’s how you can experiment and create different looks with your crepe paper wisteria:
- Size: The size of your initial square piece of paper dictates the size of your finished floret. For smaller, more delicate wisteria, start with a smaller square (e.g., 2 inches by 2 inches or 5 cm by 5 cm). For larger, more dramatic flowers, use a larger square (e.g., 4 inches by 4 inches or 10 cm by 10 cm). You can also experiment by cutting strips of crepe paper of different widths before you start folding.
- Paper Pattern: While solid colours are classic for wisteria, imagine the possibilities with patterned crepe paper! You could find paper with subtle floral prints, ombre effects, or even metallic finishes for a more glamorous look. Just ensure the pattern is clear and doesn’t get lost in the folds.
- Colour: Don’t limit yourself to just traditional wisteria colours. Think about creating vibrant fuchsias, sunny yellows, or even deep indigos for a modern twist. You could also blend two colours by using a single-sided paper where the coloured side is one hue, and the other side is a complementary shade, which might subtly show through as you open the floret.
The beauty of crepe paper is its versatility. Feel free to play around and see what stunning combinations you can come up with!
Displaying and Gifting Your Wisteria Creations
Once you’ve made a beautiful bunch of wisteria, you’ll want to show them off! Here are a few ideas for displaying and gifting your handcrafted blooms:
- Garlands and Swags: String together multiple florets onto thin wire or twine to create cascading garlands. These are perfect for decorating mantels, windows, or even as a unique wedding decoration.
- Floral Arrangements: Combine your wisteria with other crepe paper flowers or even real greenery to create stunning artificial bouquets or centrepieces. You can attach them to floral wire to make them easier to arrange.
- Wreath Embellishments: Add a touch of wisteria to a homemade wreath for a charming, seasonal touch.
- Gift Toppers: A few carefully placed wisteria florets can elevate a simple gift box into something truly special. Tie them onto the ribbon for a delicate and handmade finishing touch.
- Individual Gifts: Gift a small bunch of your wisteria to a friend or loved one. They make a thoughtful and lasting present for any occasion.
Crepe paper wisteria is a testament to the beauty that can be created with simple materials and a little patience. I hope you’ve enjoyed this tutorial and feel inspired to create your own floral masterpieces. Happy crafting!
Conclusion
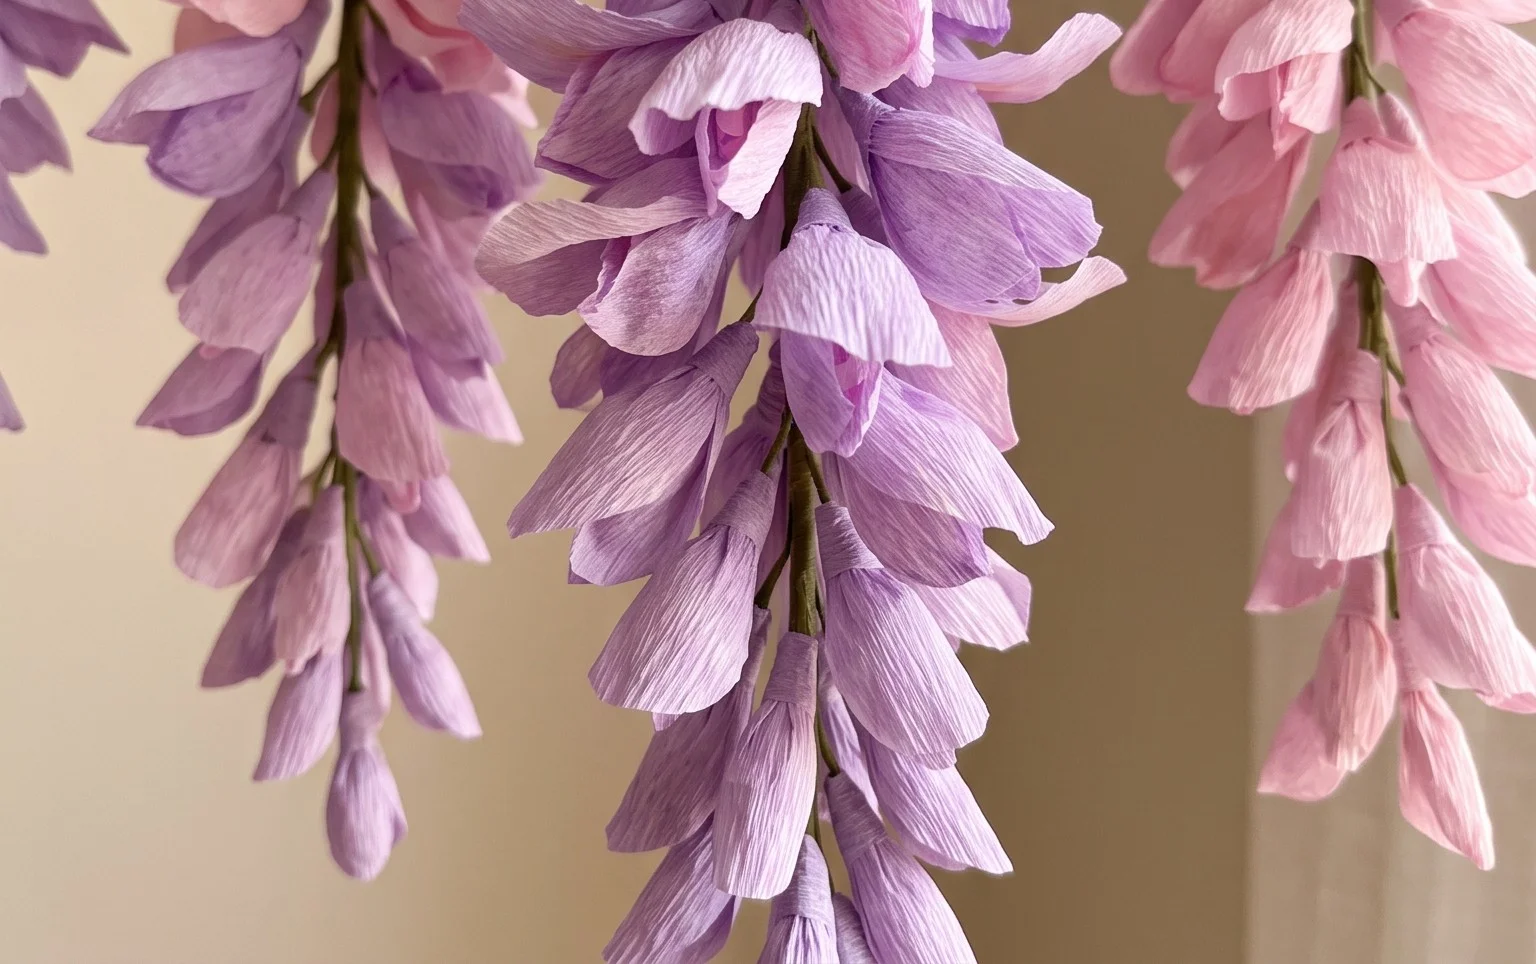
Congratulations on bringing the beauty of crepe paper wisteria to life! Don’t be discouraged if your first bloom isn’t absolutely perfect – every origami artist knows that practice makes perfect. Embrace the journey and enjoy the process of shaping these delicate petals. We encourage you to share your stunning creations with friends and family; their delight will be a wonderful reward!
Ready to explore further? Try crafting a cascade of purple wisteria for a dramatic effect, or experiment with pink and white for a softer look. And when you’re ready for your next paper adventure, dive into our collection of other paper projects for even more creative fun!