Easy Spy Decoder Wheel Origami: Crafting Chicks Step-by-Step
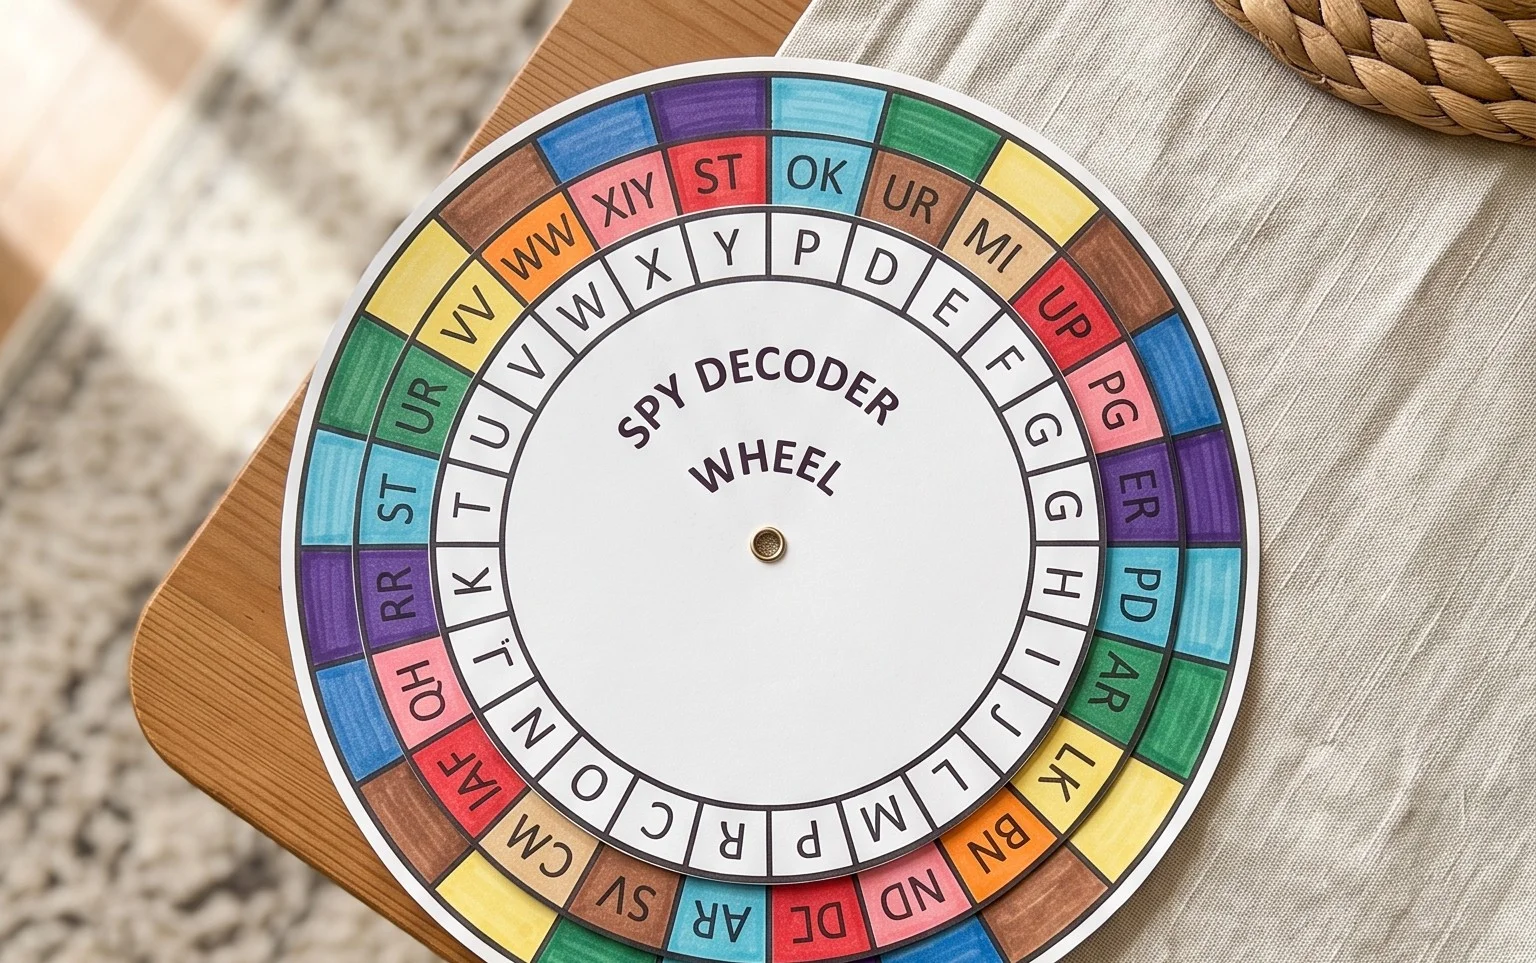
Spy Decoder Wheels are such a fun project to make! Imagine a cool, circular gadget, crafted from folded paper, with two rotating discs that reveal secret messages. It’s the perfect blend of craft and mystery!
This origami spy decoder wheel is fantastic for complete beginners, especially kids who love imaginative play. It’s a wonderful little gift for friends or a unique decoration for a themed party. You can expect to spend around 20-30 minutes creating your very own working decoder.
In this tutorial, we’ll walk through each simple fold step-by-step. You’ll learn how to transform flat paper into this clever, interactive toy, and then discover how to use it to send and decipher coded messages. Let’s get folding and unlock some secrets!
Crafting Your Own Spy Decoder Wheel: A Step-by-Step Origami Adventure
Welcome, fellow crafters and aspiring secret agents! Today, we’re diving into the wonderfully tactile world of origami to create a classic spy gadget: the decoder wheel. This isn’t just a fun craft; it’s a functional piece that will let you send and receive secret messages, just like the spies of old. I’m so excited to guide you through this process. Don’t worry if you’re new to origami; we’ll take it one step at a time, and I’ll be right here with you, explaining every crease and fold with patience.
Choosing Your Secret Weapon: The Perfect Paper
The paper you choose is crucial for a successful decoder wheel. For this project, I recommend using standard origami paper. This paper is specifically designed for folding, meaning it’s thin enough to make multiple layers manageable but strong enough to hold its shape.
* **Type:** Origami paper is ideal. If you can’t find dedicated origami paper, a good quality printer paper (around 80gsm) can work in a pinch, but it might be a little stiffer. Avoid cardstock as it’s too thick for the intricate folds required for the decoder wheel.
* **Weight:** Aim for paper that’s not too thin (like tissue paper, which will tear) and not too thick. Origami paper typically falls within the 60-80gsm range, which is perfect.
* **Size:** A square piece of paper is essential for most origami. For this decoder wheel, starting with a 6-inch (15cm) square is a great size for beginners. It’s large enough to practice on but not so large that it becomes unwieldy. You can certainly experiment with larger or smaller squares once you get the hang of it.
* **Single or Double-Sided:** You can use either single-sided or double-sided origami paper. If you use single-sided paper, decide which side you want to be the “inside” and which the “outside” of your decoder wheel. For a classic look, I often use paper with a colored side and a white side, and have the colored side visible on the outside.
Laying the Foundation: Essential Base Folds
Before we assemble our decoder wheel, we need to master a few fundamental folds. Clean, crisp folds are the backbone of any good origami model. Take your time with these initial steps.
* **Valley Fold:** This is the most common fold. You bring one edge or corner to meet another, creating a crease that forms an “M” shape when viewed from above.
* **Mountain Fold:** This is the opposite of a valley fold. The crease forms an inverted “V” or an upside-down “M”. You’ll often “unfold” a previous valley fold and then push the paper inwards along the crease to create a mountain fold.
* **Creasing Techniques:** The key to clean folds is to press firmly along the crease. I like to use my thumbnail or a bone folder (if you have one) to really flatten the paper. After making a fold, run your finger or tool firmly along the crease line.
The Blueprint: Numbered Folding Sequence
Now, let’s get folding! Remember to approach each step with patience. We’re going to fold two separate squares to create our decoder wheel.
Let’s start with the **base disc**. Grab one square of paper.
1. Place your square of paper in front of you with the colored side facing down (if using single-sided paper).
2. Take the bottom edge and bring it up to meet the top edge. Crease firmly. You now have a rectangle.
3. Take the right edge of the rectangle and bring it over to meet the left edge. Crease firmly. You now have a smaller square.
4. Unfold the last fold you made (the one bringing the right edge to the left). You should have a rectangle again with a vertical crease down the middle.
5. Unfold the very first fold you made (bringing the bottom edge to the top). You should have your original square back, with a horizontal crease across the middle and a vertical crease across the middle. These are your center guidelines.
6. Turn your square over so the colored side is facing up.
7. Take the bottom edge and bring it up to meet the top edge. Crease firmly. You have a rectangle.
8. Take the right edge of this rectangle and bring it over to meet the left edge. Crease firmly. You have a smaller square.
9. Unfold the last fold (right to left). You have a rectangle with a vertical crease.
10. Unfold the previous fold (bottom to top). You have your original square again, with a horizontal crease and a vertical crease.
11. Now, look at your square. You should have four quadrants marked by the creases. We need to make diagonal creases. Take the bottom right corner and bring it up to meet the top left corner. Crease firmly.
12. Unfold that last fold.
13. Take the bottom left corner and bring it up to meet the top right corner. Crease firmly.
14. Unfold that last fold. You now have an “X” of diagonal creases on your paper, in addition to the horizontal and vertical creases.
Now, let’s make the actual disc!
15. Pick up your paper. You should have the colored side facing up.
16. Gently push the left and right edges inwards along the vertical crease. As you do this, the top and bottom edges will start to collapse inwards.
17. Bring the top and bottom edges together, and flatten the paper into a square. This is a “squash fold.” You will now have a square that is made of four flaps.
18. Take one of the flaps (the one that has a point at the top). Bring the right edge of this flap to meet the center vertical crease. Crease firmly.
19. Repeat with the left edge of the same flap, bringing it to meet the center vertical crease. Crease firmly. You should have formed a kite shape on this flap.
20. Now, take the pointed top of this kite shape and fold it down so that the tip meets the bottom point of the kite. Crease firmly.
21. You have now folded one of the four flaps. Repeat steps 18-20 for the remaining three flaps.
22. Once all four flaps are folded in this kite-like shape, you’ll notice they can be tucked into each other. Carefully tuck the right flap into the pocket of the flap on its right, then the next flap into its right, and so on, until you have a neat, circular disc. This is your base disc. Set this aside.
Now, let’s make the **inner spinning disc**. Grab your second square of paper.
1. Place your second square of paper in front of you with the colored side facing down.
2. Fold the paper in half horizontally by bringing the bottom edge up to meet the top edge. Crease firmly.
3. Fold the paper in half vertically by bringing the right edge over to meet the left edge. Crease firmly. You have a smaller square.
4. Take the top layer of the right edge and bring it to meet the center vertical crease. Crease firmly.
5. Take the top layer of the left edge and bring it to meet the center vertical crease. Crease firmly. You have created a kite shape on the top layer.
6. Now, take the pointed top of this kite shape and fold it down so that the tip meets the bottom edge of the kite section. Crease firmly. This forms a smaller diamond shape on top.
7. Unfold the last fold (the diamond shape). You will see a horizontal crease.
8. Unfold the two side folds you made (bringing the edges to the center). You should have your small square back, with a horizontal crease across the middle and two diagonal creases on the top half.
9. Now, look at the top half of your square. You need to make a “petal fold” here. Lift the top layer of the paper.
10. Using the horizontal crease you just made, gently lift the top point upwards. As you do this, use the diagonal creases from steps 4 and 5 to fold the sides inwards. The goal is to bring the two side points together at the top, creating a new, taller diamond shape. Flatten it down. This is your petal fold.
11. Flip the entire piece of paper over.
12. You should see the original smaller square. Fold the bottom edge up to meet the top edge. Crease firmly.
13. Fold the right edge over to meet the left edge. Crease firmly. You have a smaller square again.
14. Now, you need to fold the corners inwards. Take the bottom right corner of this square and bring it up to the top edge, aligning it with the center. Crease firmly.
15. Repeat with the bottom left corner, bringing it up to the top edge and aligning with the center. Crease firmly. You have now created two triangular flaps on the bottom.
16. Flip the whole piece over again. You should see your larger diamond shape from the petal fold.
17. Take the bottom point of this diamond and fold it up to meet the top point. Crease firmly.
18. You now have a shape that resembles a somewhat squashed kite. This is your inner disc.
Assembling Your Decoder Wheel
Now for the magic: bringing the two pieces together!
1. Take your base disc (the larger, flatter one).
2. Take your inner disc (the smaller one with the pointed flaps).
3. Carefully place the inner disc on top of the base disc. You’ll notice that the points of the inner disc can be tucked into the pockets of the base disc.
4. Gently tuck one of the points of the inner disc into a pocket of the base disc. Then do the same for the other three points.
5. Once all four points are tucked in, you should have a secure, two-layered wheel. The inner disc should be able to spin freely within the outer disc.
Common Pitfalls and How to Avoid Them
Don’t worry if your first attempt isn’t perfect! Here are a few common places beginners stumble and how to steer clear of them.
* **Fuzzy Folds:** This is the most frequent issue. It happens when your creases aren’t sharp. Make sure you’re pressing down firmly on every fold, using your fingernail or a similar tool. For the squash fold (step 17 of the base disc), ensure you’re collapsing the paper along the existing creases.
* **Mismatched Corners/Edges:** This can happen when you’re not precisely aligning corners and edges. Take an extra moment to ensure everything lines up perfectly before creasing. Even a millimeter off can make subsequent steps difficult. For the petal fold (step 10 of the inner disc), this is especially important – those diagonal creases need to meet precisely.
* **Tucking Difficulties:** If you can’t get the points of the inner disc to tuck into the pockets of the outer disc, it might mean your folds on the inner disc are too thick, or the pockets on the outer disc aren’t open enough. Gently loosen the pockets on the outer disc by carefully sliding a fingernail along the edge. For the inner disc, ensure the kite folds are crisp, so the points are sharp.
Personalizing Your Spy Gear: Variations to Explore
The beauty of origami is its endless adaptability! Here are some ways you can make your decoder wheel truly your own.
* **Size Matters:** Once you’ve mastered the 6-inch square, try larger or smaller squares. A larger square will result in a bigger decoder wheel, and a smaller square will make a more compact one. Just remember to scale your folds proportionally.
* **Paper Patterns and Colors:** This is where the fun really begins! Use patterned origami paper, scrapbooking paper with interesting designs, or even pages from old books (make sure they are not too thick). Consider using two different colors for the inner and outer discs to create a striking contrast.
* **Adding Embellishments:** Once your decoder wheel is assembled, you can add little touches. You could draw or print tiny symbols onto the paper before folding, or even add a small bead to the center to hold the discs together more securely if you find it’s too loose.
Showcase Your Secrets: Displaying and Gifting Your Creation
Your spy decoder wheel is more than just a craft; it’s a piece of functional art!
* **Gifting:** This makes a fantastic and unique gift for friends, family, or even as a party favor for a spy-themed birthday. Package it in a small envelope with a secret message inside that only they can decode.
* **Display:** You can mount your decoder wheel on a piece of cardstock and frame it. It looks great as a quirky decorative piece on a shelf or desk. You could even attach a small string to hang it as a pendant or keychain (just make sure it’s securely attached!).
* **Interactive Fun:** The most exciting way to “display” it is to use it! Write secret messages for your kids, your partner, or your friends. It’s a wonderful way to add a bit of mystery and intrigue to everyday communication.
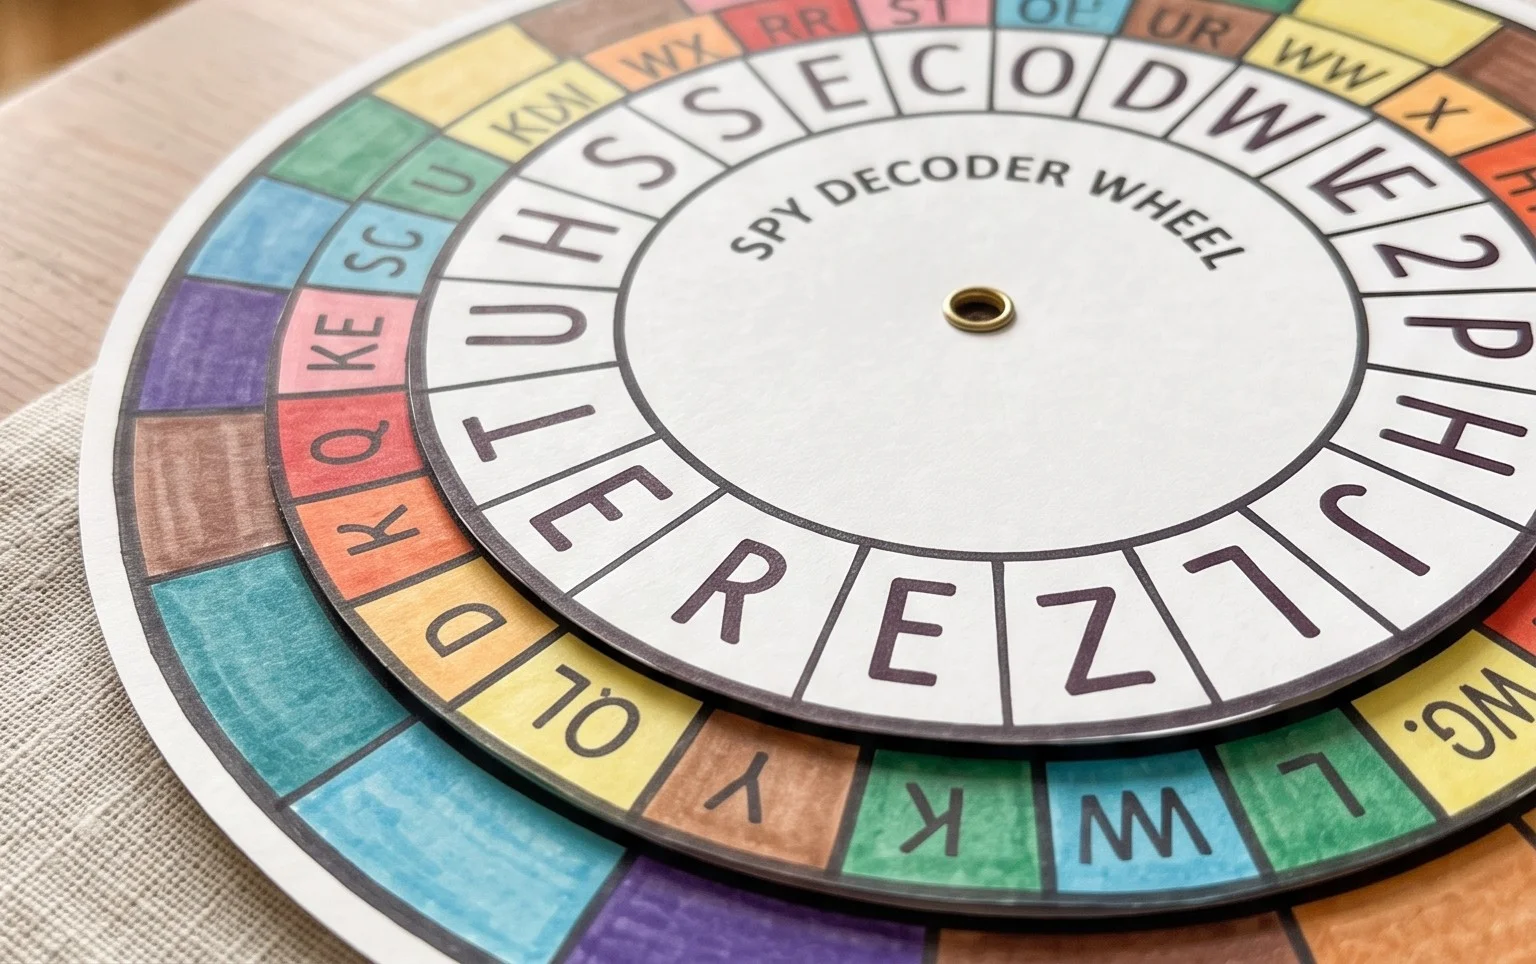
Congratulations! You’ve just crafted your very own spy decoder wheel. I hope you had as much fun making it as I do. Now go forth and send some secret messages! Happy folding!
Conclusion
Congratulations! You’ve just created your very own origami spy decoder wheel. Don’t worry if your first attempt isn’t perfect; every fold is a learning experience, and practice makes mastery. We hope you have so much fun sending secret messages with your new spy gear! We’d love to see your finished spy decoder wheels – feel free to share them with us! For your next adventure, try creating a simple origami fortune teller or a classic paper airplane. There are so many exciting paper projects waiting for you to discover. Happy crafting!