Easy Paper Roll Dragon Craft for Kids
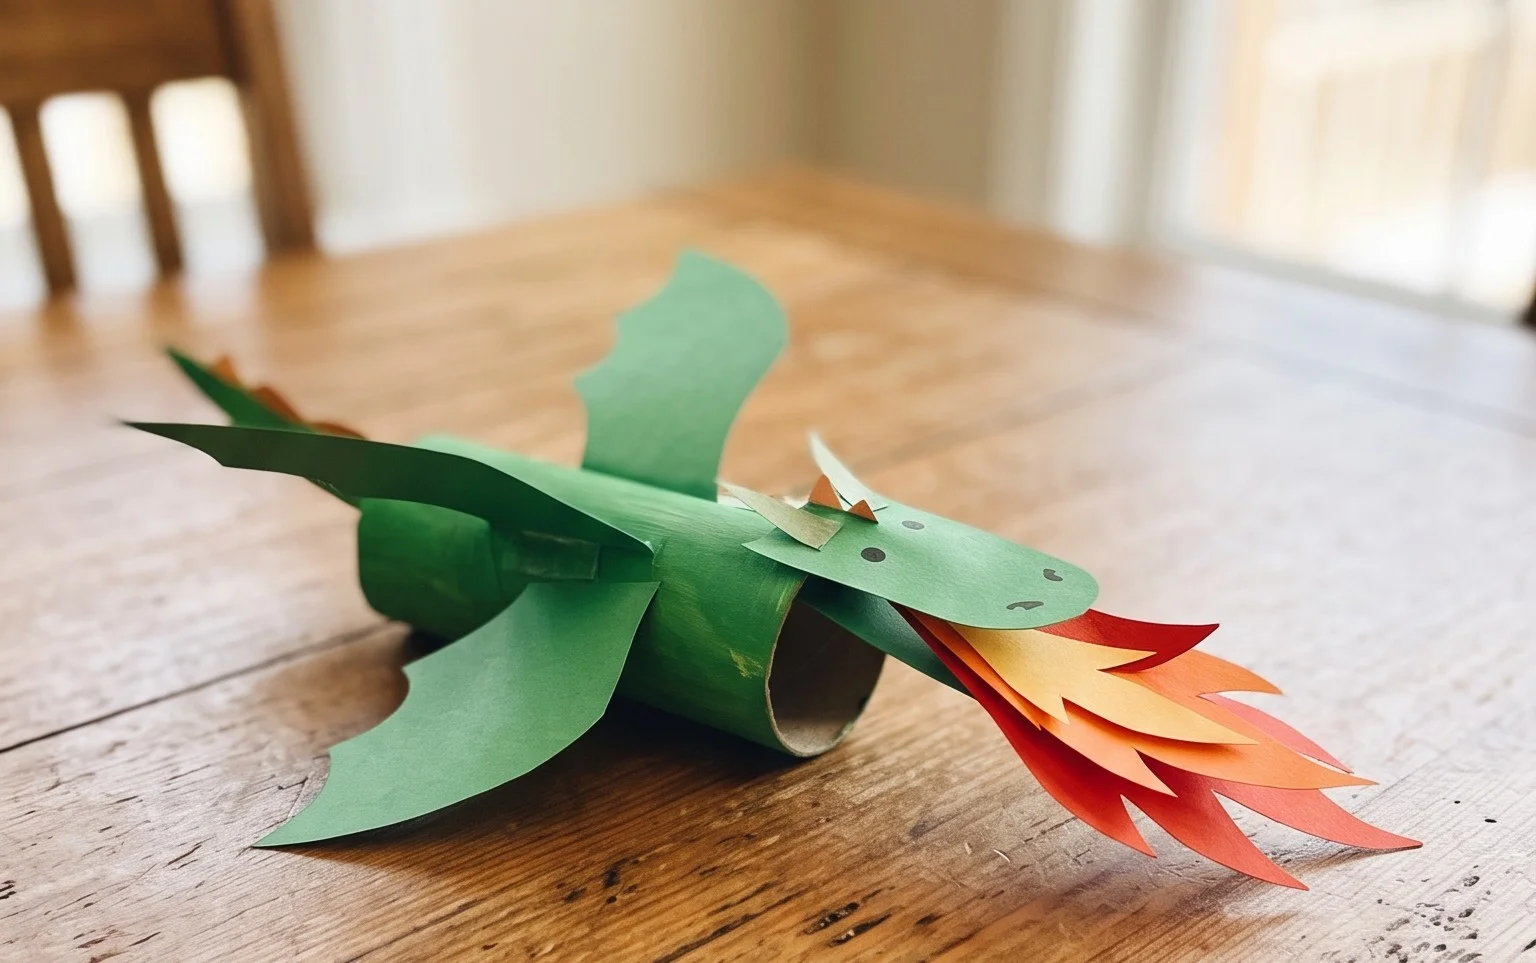
Paper Roll Dragon Craft – let’s make something truly magical! Today, we’re diving into a super fun and incredibly budget-friendly project that’s perfect for little adventurers and creative minds alike. Imagine a charming little dragon, crafted from everyday paper rolls, with a surprisingly detailed body, maybe even a friendly snout and a coiled tail. It’s an adorable creature that’s surprisingly easy to bring to life! This craft is ideal for complete beginners and kids aged 5 and up. It’s a fantastic way to keep them entertained for about 30-45 minutes, and the finished dragon makes a wonderful handmade gift or a delightful decoration for any room. Get ready to learn simple folding techniques, clever cutting methods, and how to assemble a creature that’s ready to spark imaginative play. Grab your paper rolls, and let’s get crafting!
Crafting Your Own Paper Roll Dragon: Frugal Fun for Little Hands
Hello there! Today, we’re going to embark on a wonderfully whimsical adventure and create our very own paper roll dragon. This craft is not only incredibly fun and rewarding but also wonderfully frugal, using materials you likely already have around the house. It’s perfect for little hands eager to create something magical, and with a little patience, even beginners will be able to bring this mythical creature to life. We’ll go through every step together, making sure you understand each fold and have a fantastic finished dragon to show off.
Choosing Your Paper: The Foundation of Your Dragon
The paper you choose will significantly impact the look and feel of your dragon. For this project, I highly recommend using standard A4 or Letter-sized copier paper. This is the kind you’d typically use in a printer. It’s readily available, inexpensive, and has a good balance of sturdiness and flexibility, making it easy to fold without tearing.
Regarding weight, anything between 70 gsm (grams per square meter) and 90 gsm is ideal. Thicker paper can be a bit too stiff for the finer folds, while very thin paper might be too flimsy and prone to creasing awkwardly.
You can use single-sided or double-sided paper. Single-sided paper, where one side is white and the other is coloured, can create a lovely contrast, especially if you want your dragon’s belly or inner wings to be a different shade. Double-sided coloured paper is also fantastic, offering a consistent colour throughout your dragon. If you’re feeling creative, patterned paper can add a unique flair, but make sure the pattern isn’t too busy, as it might obscure the defined folds of the dragon. For your very first dragon, I’d suggest a single, solid colour to really focus on mastering the folds.
Mastering the Base Folds: The Building Blocks of Origami
Before we dive into the dragon itself, let’s get comfortable with a couple of fundamental origami folds. These are the building blocks of almost every origami model.
The first one is the mountain fold. Imagine your paper is a hill. You want to fold it so the crease forms the peak of the hill, pushing the paper away from you. To make a clean mountain fold, gently score the fold line with your fingernail or a bone folder first, then crease firmly.
Next is the valley fold. This is the opposite of a mountain fold; the crease forms a valley, pulling the paper towards you. Again, a light scoring of the fold line before a firm crease will ensure it’s sharp and precise.
A crucial aspect of origami is making your folds *cleanly*. This means aligning edges and corners as perfectly as possible and then pressing down firmly along the entire length of the crease. Take your time! A crisp fold makes for a much neater and more structurally sound model. Always make sure the edges meet exactly before you crease.
Your Paper Roll Dragon: A Step-by-Step Guide
Alright, let’s get started on our dragon! We’ll be working with a rectangular piece of paper. If you have A4 or Letter size, you can use it as is.
1. Start with your paper lying flat in front of you, portrait orientation (the longer sides are running up and down).
2. Take the bottom edge of the paper and bring it up to meet the top edge. Crease firmly across the middle. You now have a folded rectangle, half the original height. Unfold it. You’ve just made a horizontal crease line.
3. Now, pick up the bottom left corner of the paper. Bring this corner down to meet the horizontal crease line you just made in the center. The edge of the paper that was the bottom left edge should now align perfectly with the center crease. Crease firmly.
4. Repeat step 3 with the bottom right corner. Bring the bottom right corner up to meet the center crease, aligning the edge perfectly. Crease firmly. You should now have two triangular flaps at the bottom of your paper, meeting in the middle.
5. Flip the entire piece of paper over.
6. Take the bottom point (where the two triangular flaps meet) and bring it all the way up to the top edge of the paper. Align the point with the center of the top edge. Crease firmly across the entire width of the paper.
7. Now, take the very bottom edge of the paper that you just folded up. Fold it back down so that it aligns with the horizontal crease you made in step 6. You’re essentially folding back a small portion of the paper you just folded up. Crease firmly.
8. Flip the paper back over to the side where you have the two triangular flaps. You will see a small diamond shape at the bottom.
9. Take the right-hand side edge of the diamond and fold it inwards so it meets the vertical center line of the paper. The crease should run from the bottom point up towards the top. Crease firmly.
10. Repeat step 9 with the left-hand side edge of the diamond. Fold the left edge inwards to meet the center vertical line. Crease firmly. You should now have a kite-like shape at the bottom.
11. Now, take the bottom point of this kite shape and fold it upwards, making sure the tip goes slightly past the horizontal line where the two triangular flaps met. This will form the dragon’s tail. Crease firmly.
12. Flip the entire model over.
13. Take the entire bottom portion (which is now the tail and the kite shape) and fold it upwards, aligning the bottom edge with the top edge of the paper. Crease firmly. You should now have a long, slender shape.
14. Hold the model with the folded edge at the top. Now, we’re going to form the dragon’s head and body. Take the right-hand side of this long strip and fold it downwards at an angle. This will create the neck and head of your dragon. Experiment with the angle to get the head positioned just right. Crease firmly.
15. Take the opposite end (the part that will be the tail) and fold it upwards at an angle, creating the tail of your dragon. Again, the angle here is up to you and contributes to the dragon’s posture. Crease firmly.
16. To make the dragon’s head more defined, you can make a small inward fold on the tip of the head section. Fold the very tip of the head back on itself to create a snout. This is a small fold, and a valley fold is usually best here. Crease firmly.
17. Finally, for the wings, you can gently pull out the layers of paper on either side of the body, near where the head and tail meet. These layers naturally want to separate a bit, and you can shape them into rudimentary wings by gently creasing them outwards. You might need to make small pleats or folds within these layers to give them shape.
Congratulations! You’ve just folded your very own paper roll dragon!
Common Pitfalls and How to Avoid Them
Even with the clearest instructions, sometimes things don’t go quite as planned. Here are a couple of places beginners often stumble and how to steer clear of them:
* **Imprecise Alignments:** This is by far the most common issue. When you’re told to align a corner with an edge or two edges together, take your time to ensure they meet *exactly*. Even a millimeter off can make subsequent folds difficult or result in a lopsided dragon. The trick is to gently hold the two parts in place with one hand while you use your other hand to smooth the crease from one end to the other. If it’s not perfect, unfold and try again. Patience is key!
* **Weak Creases:** If your creases aren’t firm, your dragon might not hold its shape well. It will look floppy and less defined. When you make a fold, especially a mountain or valley fold, use the side of your fingernail, a ruler edge, or a dedicated bone folder (if you have one) to really press down along the entire length of the fold. Imagine you’re trying to make a permanent indent. This will give your dragon structure and crisp lines.
Making Your Dragon Unique: Variations to Explore
Once you’ve mastered the basic dragon, the fun doesn’t have to stop! There are so many ways to personalize your creation:
* **Size:** The simplest variation is size. You can use smaller paper, like squares cut from larger sheets, to make miniature dragons, or use larger paper for impressive, statement dragons. Just remember that the proportions of the folds might need slight adjustments for vastly different paper sizes.
* **Paper Pattern and Colour:** As mentioned earlier, patterned paper can add a lot of character. Try a dragon with scales printed on the paper, or even a metallic sheen for a truly regal beast. Using different coloured papers for different parts (e.g., a red body with yellow wings) can be achieved by joining two pieces of paper together before you start folding, though this adds a layer of complexity.
* **Adding Details:** Once folded, you can draw eyes, nostrils, or even add small cutouts for a more textured look. You could also try a slight curve to the tail or neck by gently bending the paper after the main folds are done.
Displaying and Gifting Your Dragon
Your paper roll dragon is a work of art, and it deserves to be showcased!
* **Display:** Place your dragon on a shelf, a desk, or a windowsill. Its angled posture makes it look like it’s about to take flight or guard its territory. You can create a small nest of tissue paper or twigs for it to perch on. For a truly dramatic effect, you could even hang it from the ceiling with a bit of clear fishing line, making it appear as though it’s soaring through the air.
* **Gifting:** A handmade dragon is a truly special gift. Imagine the delight of a friend or family member receiving their own unique dragon! It’s a perfect gift for birthdays, holidays, or just because. You can place it in a small box lined with colourful tissue paper, or even attach it to the front of a handmade card.
I hope you’ve enjoyed this origami adventure! Folding paper is a wonderful way to spend time, fostering creativity and a sense of accomplishment. Happy folding, and may your dragons soar!
Conclusion
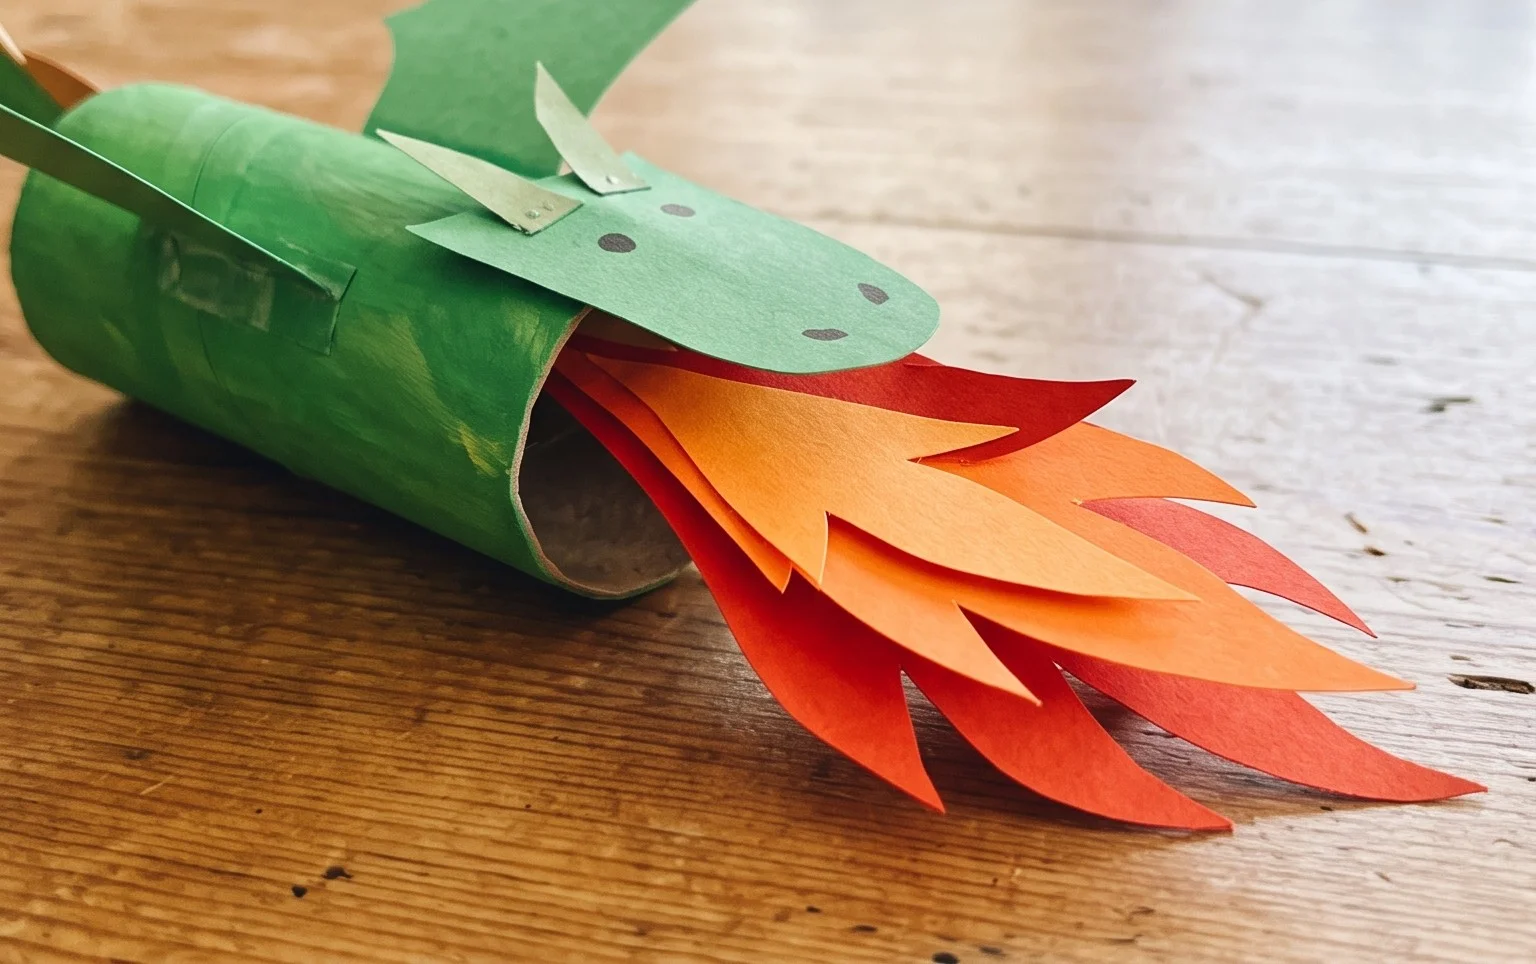
You’ve done it! You’ve brought your very own paper roll dragon to life. We hope you had a wonderful time creating this unique origami treasure. Don’t worry if your first paper roll dragon isn’t perfect – every attempt is a fantastic learning experience! The most important thing is to have fun and enjoy the process. We encourage you to proudly display your finished model or share its magic with a friend.
What’s Next?
Ready for more dragon adventures? Try making your paper roll dragon with different colored papers for a vibrant herd, or perhaps add some extra details like scales with markers. There are so many creative possibilities! Don’t stop here – explore our website for even more delightful paper projects and continue your crafting journey.