Easy Origami Butterfly: Step-by-Step Paper Craft
Easy Origami Butterfly: Simple Instructions for Beginner. Get ready to bring a little flutter into your world! Today, we’re folding a charming origami butterfly, complete with delicate wings that seem ready to take flight. This project is absolutely perfect for complete beginners, so if you’ve never folded before, you’re in the right place! It’s also a fantastic activity for kids, and these little beauties make for delightful handmade gifts or charming decorations for your home. In just about 5-10 minutes, you’ll have your very own graceful butterfly. You’ll learn some fundamental origami folds that are super easy to master and will open the door to countless other paper-folding adventures. So grab a piece of paper, and let’s get folding!
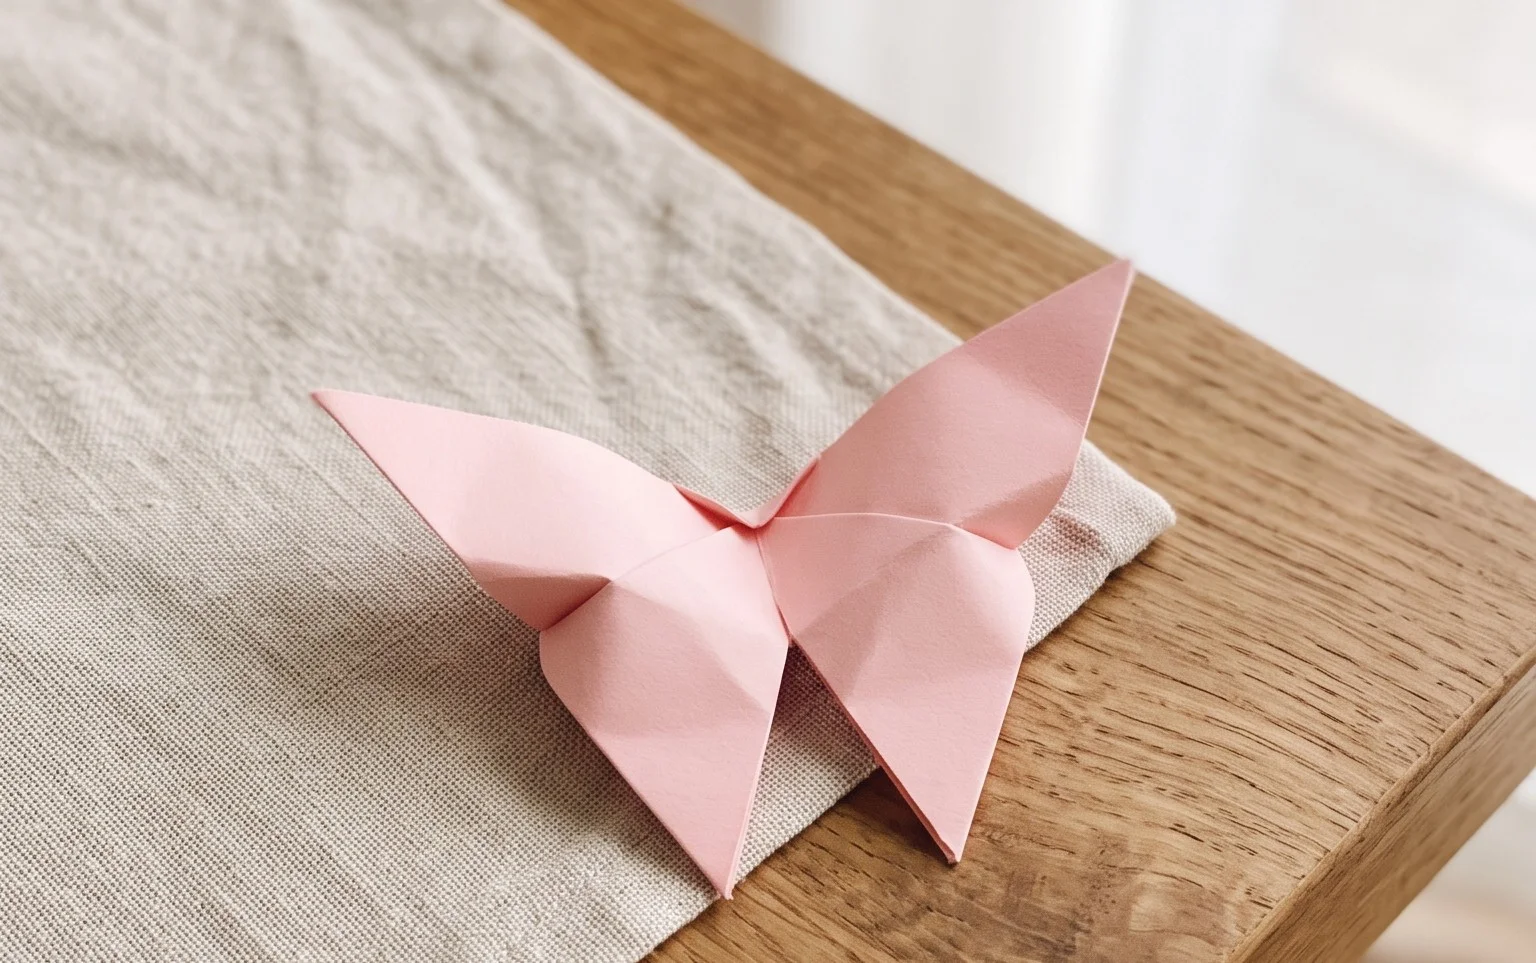
Easy Origami Butterfly: Simple Instructions for Beginner
Hello there! Welcome to the wonderful world of origami. Today, we’re going to make something truly lovely: an easy origami butterfly. This project is perfect for beginners, and you’ll be amazed at how a simple piece of paper can transform into a delicate creature with just a few folds. We’ll go through everything step-by-step, so don’t worry if you’ve never done origami before. My goal is to guide you through each fold so clearly that you won’t even need diagrams. Let’s get started!
Choosing Your Paper
The type of paper you use can make a big difference in how your origami turns out. For this easy butterfly, we want something that’s easy to fold and holds a crease well.
- Type: Standard origami paper is ideal. It’s thin enough to allow for crisp folds and precise layering, but strong enough not to tear easily. You can also use regular printer paper, though it might be a bit thicker and require a firmer hand.
- Weight: Origami paper typically weighs around 70-80 gsm (grams per square meter). If you’re using printer paper, aim for something in that ballpark. Thicker paper can make the final model bulky and harder to shape.
- Size: For this butterfly, a square piece of paper is essential. Common origami paper sizes are 6 inches (15 cm) or 8 inches (20 cm). A 6-inch square is a great starting point for beginners. If you’re cutting your own from printer paper, make sure it’s a perfect square.
- Single or Double-Sided: For this project, you have a choice. If you use single-sided origami paper (one colored side, one white side), your butterfly will have a colored top and a white bottom. If you use double-sided origami paper (colored on both sides), your butterfly will be colored all over. For a striking effect, you can even use patterned paper on one side and a solid color on the other, or two different colors on opposite sides for a unique look.
The Base Folds: Building Blocks of Your Butterfly
Before we get to the butterfly itself, we need to learn a couple of fundamental folds that will form the foundation of our model. Practicing these will ensure you can make your butterfly nice and sharp.
The Valley Fold
A valley fold is the most basic fold in origami. You bring two edges or points of the paper together, creating a crease that looks like a “V” or a valley when viewed from above. When making a valley fold, you are essentially folding the paper in half along an imaginary line.
The Mountain Fold
A mountain fold is the opposite of a valley fold. You make a crease that pops upwards, like the peak of a mountain. We’ll primarily use valley folds for this butterfly, but understanding the concept of a mountain fold is good to know for other origami projects.
Making Clean Folds
The key to beautiful origami is making clean, precise folds. Here’s how:
- Align edges and corners perfectly before creasing. Even a slight misalignment can throw off subsequent folds.
- Once aligned, use your fingernail or a bone folder to run firmly along the crease. This makes the fold sharp and permanent.
- For any fold, especially when instructions say to unfold, gently lift the paper to open it. Don’t rush or tear the paper.
Step-by-Step Folding Sequence
Alright, let’s begin folding our beautiful butterfly! Take your square piece of paper and place it on a flat surface. If you’re using single-sided paper, start with the colored side facing down (white side up).
- Initial Diagonal Fold: Take the bottom-left corner of your square and bring it up to meet the top-right corner. Align the edges perfectly. Crease firmly along the diagonal. Now, unfold the paper. You should have a diagonal crease running from the bottom-left to the top-right corner.
- Second Diagonal Fold: Now, take the bottom-right corner and bring it up to meet the top-left corner. Align the edges precisely. Crease firmly along this new diagonal. Unfold the paper. You should now have two diagonal creases forming an ‘X’ on your paper.
- First Horizontal Fold: Flip your paper over so the colored side is facing up (if using single-sided paper). Bring the bottom edge of the square up to meet the top edge. Align the edges as perfectly as you can. Crease firmly along the horizontal line in the middle. Unfold the paper.
- Second Horizontal Fold: Now, bring the left edge of the square over to meet the right edge. Align the edges carefully. Crease firmly along the vertical line in the middle. Unfold the paper. You should now have four creases forming a grid on your paper.
- Collapse into a Preliminary Base: This is where things get a little magical! Hold your paper by the left and right edges, near the middle. Gently push these edges inwards towards each other. As you do this, the creases you’ve made will guide the paper. The top point should come down, and the sides should fold inwards. The goal is to flatten the paper into a smaller square. The two flaps that were previously on the sides will now be on the bottom, and the original top point will be the top point of this new, smaller square. This shape is called a preliminary base. If you’re having trouble, remember the creases. The diagonal creases help bring the sides in, and the horizontal/vertical creases help it collapse neatly. Ensure the open edges of the preliminary base are pointing towards you.
- Fold Up the Bottom Flaps: With the open end of your preliminary base pointing towards you, take the bottom-most layer of the right flap. Fold its edge up to meet the center vertical crease. Make a sharp crease. Repeat this with the bottom-most layer of the left flap, folding its edge to meet the center vertical crease.
- Fold Down the Top Triangle: At the top of your model, you’ll see a small triangular flap pointing upwards. Fold this small triangle downwards, over the two flaps you just folded up. Crease it firmly. This little fold helps lock everything in place.
- Flip the Model: Turn your entire model over so the back side is facing you.
- Fold Up the Side Flaps (Second Side): Now, you’ll see two more flaps on this side, similar to the ones on the front. Take the bottom-most layer of the right flap and fold its edge up to meet the center vertical crease. Crease it sharply. Repeat with the bottom-most layer of the left flap, folding its edge up to meet the center vertical crease.
- Bring the Point Up: You should now have a long, pointed flap extending upwards from the bottom of your model. Take this point and fold it upwards. Fold it so that the tip of the point extends just beyond the top edge of the model by about a centimeter or half an inch. Crease firmly where it bends.
- Secure the Point: Now, gently fold the very tip of that upward-pointing flap down and *over* the top edge. This little fold will “lock” the point in place and help secure the wings of your butterfly.
- Create the Wings: This is the final shaping step. Gently hold the body of the butterfly. You’ll see two “wings” on each side. With your thumb and forefinger, gently pinch the body of the butterfly in the middle. Then, carefully fold the entire model in half along the existing center crease. This will give your butterfly its 3D shape and separate the wings. You can then slightly bend or curve the wings outwards to make them look more natural.
Common Beginner Pitfalls and How to Avoid Them
It’s completely normal to make a few mistakes when you’re learning. Here are some common areas where beginners sometimes get stuck, and how to easily fix them:
- Misaligned Folds: This is probably the most common issue. If your corners don’t meet precisely or your edges aren’t lined up before creasing, your final model might look a bit lopsided or have gaps.
- How to avoid: Take your time! Before you make any crease, double-check that all edges and corners are perfectly aligned. Use your fingernail to smooth the paper gently to ensure it stays in place before committing to the crease. If a fold is significantly off, it’s often easier to unfold and try again rather than trying to correct it.
- Not Creasing Firmly Enough: Origami relies on crisp creases to hold its shape. If your folds are too soft, your butterfly might not stand up nicely or might look floppy.
- How to avoid: Once you’ve aligned your paper, use the edge of your fingernail or a bone folder to firmly run along the entire length of the fold. Imagine you’re “ironing” the paper. This makes the creases sharp and helps the model maintain its structure.
- Trouble with the Preliminary Base Collapse (Step 5): This step can feel a bit counter-intuitive at first because you’re using the creases to make the paper fold in on itself.
- How to avoid: Remember those creases you made? They are your guides. Hold the paper from the left and right sides, and gently push inwards. The diagonal creases will encourage the sides to come together, and the top point will naturally move downwards. Think of it like gently collapsing a box. Don’t force it; let the creases do the work. If it’s still tricky, try slightly pre-creasing the diagonal lines a little more firmly.
Varying Your Butterfly
Once you’ve mastered the basic butterfly, don’t be afraid to experiment! Origami is all about creativity.
- Size: The easiest way to change the size is to simply start with a larger or smaller square piece of paper. An 8-inch square will make a larger butterfly, and a 4-inch square will make a smaller one.
- Paper Pattern: This is where the fun really begins!
- Use patterned origami paper for vibrant wings.
- Try metallic paper for a shimmering effect.
- Use different colored paper on the front and back of your original square for a unique two-toned look.
- Even newspaper or magazine pages can be used for an upcycled, artistic butterfly! Just make sure the paper isn’t too thin or too thick.
- Colour: Obviously, changing the color of your paper changes the butterfly’s color. But you can also play with how you use the colors. For example, use a patterned paper on one side and a solid color on the other. Then, decide which side faces up when you start folding to influence the final appearance.
Ideas for Displaying or Gifting Your Butterfly
These little origami butterflies are so charming, they’re perfect for adding a special touch to many things.
- Decorations:
- String them together to make a beautiful garland for a party or to decorate a child’s room.
- Glue them onto a blank card for a handmade greeting.
- Attach them to a twig or branch to create a whimsical mobile.
- Use them as cupcake toppers for a themed party.
- Scatter them on a table runner for an elegant touch.
- Gifting:
- Tuck one into a birthday card or a thank-you note.
- Place a few in a small gift box as a sweet surprise.
- Attach one to the ribbon of a present for an extra decorative element.
- Create a small origami mobile as a unique gift for a new baby.
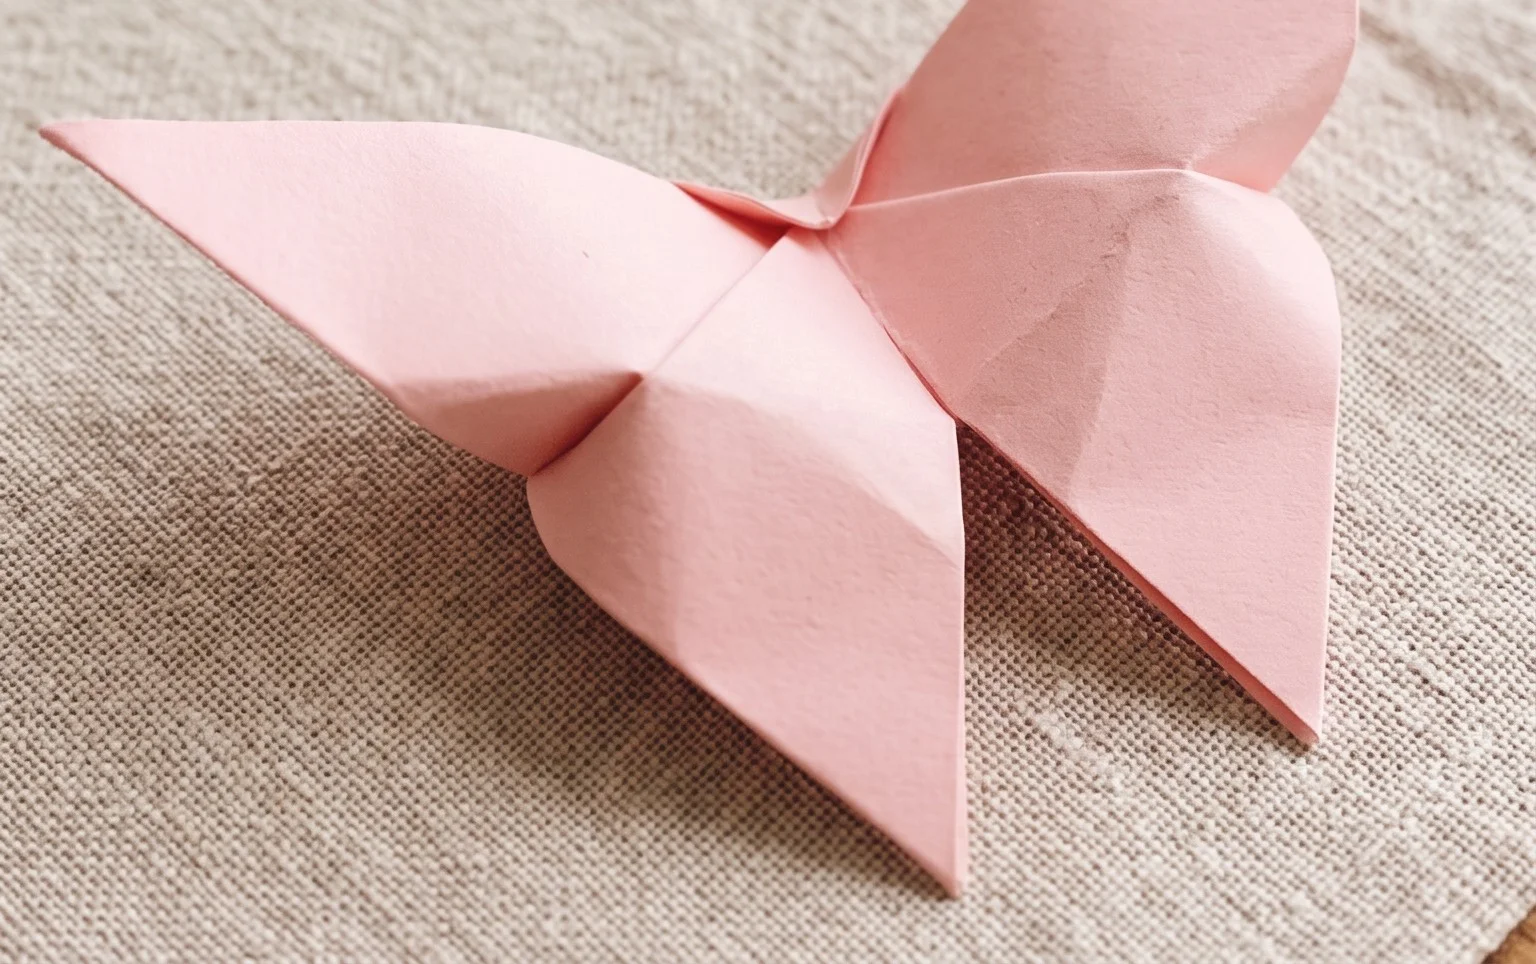
I hope you’ve enjoyed folding your first origami butterfly! With practice, you’ll find yourself making them quickly and beautifully. Don’t be discouraged if your first few aren’t perfect; every fold is a learning opportunity. Happy folding!
Conclusion
Congratulations! You’ve just learned how to create your very own easy origami butterfly. Don’t worry if your first one isn’t perfect; every fold is a step in learning, and practice makes progress! We encourage you to try this delightful craft. Once you’ve mastered this beautiful butterfly, why not try a few more? You could experiment with different colored papers or even try a slightly more intricate origami bird or a simple origami flower next. We hope you enjoyed this tutorial and are inspired to explore many more wonderful paper projects with us!
